Who ever said that maple syrup was only for pancakes and french toast? I will be honest, before I started sugaring myself for the first time this year, in my world maple syrup was typically reserved for breakfast foods. I didn’t branch out too much beyond that. But now that I have a few gallons sitting on my pantry in the cellar, I have come up with some alternative, creative, and delicious ways to use it.
Not only does it make a wonderful substitute for honey in many recipes (especially the early run lighter stuff!) that adds a different flavor, it is also a wonderful substitute for sugar in baking. Yes, in many dishes maple syrup can be substituted for sugar as a natural sweetener! The rule of thumb is for every cup of granulated sugar the recipe calls for, you use 3/4 cup of maple syrup and reduce the liquid in your recipe by 3 Tablespoons. If you are looking for ways to remove refined sugar and substitute natural sugar into your diet, this is a solid substitution to implement.
While baking is all well and good, I have to admit that my favorite way to use maple syrup aside from its primary role as a breakfast condiment is by using it in sauces and marinades. Even better, our Vermont Evaporator Sapling unit that we used to boil our sap on this spring doubles as wood fired grill! With the use of sapling grill grates, the evaporator proves to be a year round useful tool on the homestead.
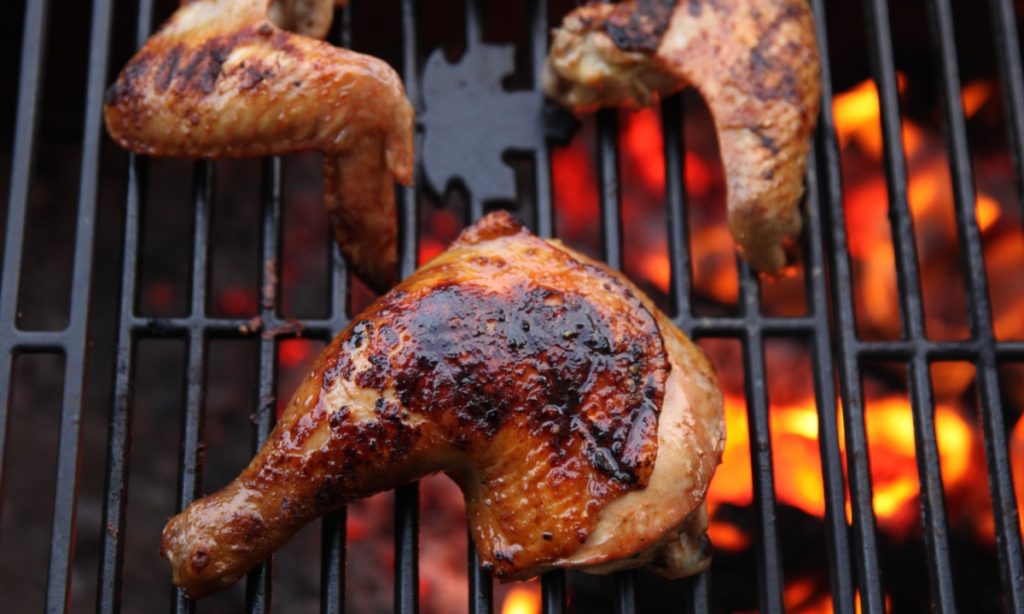
Maple syrup brings a wonderful sweetness to a sweet and salty marinade that pairs well with just about anything on the grill. When cooked on a wood fired grill ,it’s elevated even more and reminds me of the flavors that impregnate food cooked in my beehive oven. It just cant be imitated. The following recipe is one I threw together one night – and thankfully, I had the forethought to write it down as I put it together! It produces a sticky glaze that goes wonderfully on some homegrown chicken legs and requires some basic pantry staples. No fuss, no muss, just a quick, easy, and delicious marinade.
Ingredients for Marinade
- 1/4 cup maple syrup
- 3 T low sodium soy sauce
- 2 T olive oil
- 5 cloves garlic minced
- 1/8 t cayenne pepper
- 1/2 t smoked paprika
- 1 t fresh thyme
- Fresh chives for garnish
Directions
- Prepare the grill by starting a fire about an hour and a half before you plan on wanting to cook dinner.
- Combine marinade ingredients (minus chives) and let sit for 30 minutes to an hour to allow flavors to meld.
- Pat chicken legs dry, let sit out at room temperature for a half hour or so to allow more even cooking.
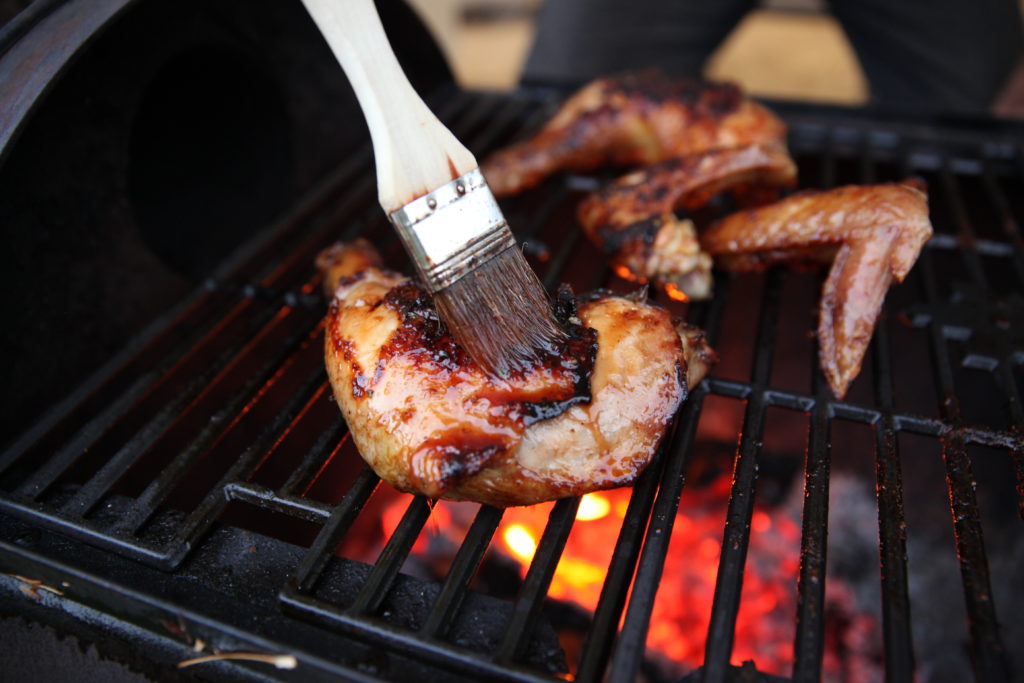
- Oil grill grates to prevent sticking and cook legs skin side down. Once skin has good color, flip, and brush skin with marinade. Continue to cook chicken, regularly flipping and marinating each side with every turn until fully cooked. Garnish with chives
Cooking with fire is a completely different form of cooking than most people are used to. You don’t set the temperature and walk away! The fire has to be monitored and tended to. I cook almost exclusively with wood for about half of the year on my wood cookstove in my kitchen as well as my beehive oven. So, cooking on the sapling came natural for me. If you are new to cooking with wood fired heat, I have some helpful tips to help you out:
- Don’t expect to light a fire and start cooking. When cooking over a wood fired grill, the bulk of the heat from cooking comes from the hot coals. A bed of coals take some time to establish, so plan on starting the fire at least an hour and a half ahead of time. You don’t need to be constantly tending to it, just occasionally check on it and toss on a new piece of wood when needed!
- Use small pieces of wood. Using smaller logs as opposed to real big ones is ideal for cooking. They burn hotter faster, and will get your fire going and bed of coals established quicker.
- Experiment with different types of wood. You can create different flavors in your food depending on what kind of wood you use! Hickory, cherry, or applewood all will impregnate different flavors without actually having to “smoke” it.
- Move around the coals to regulate your own temperature. While you don’t have a knob to adjust your temperature, cooking on a wood fired grill by no means limits your abilities. By moving around the coals and piling them to one side you can create a hot side of the grill for searing, and a cooler “warm side” for keeping food warm or cook over indirect heat.
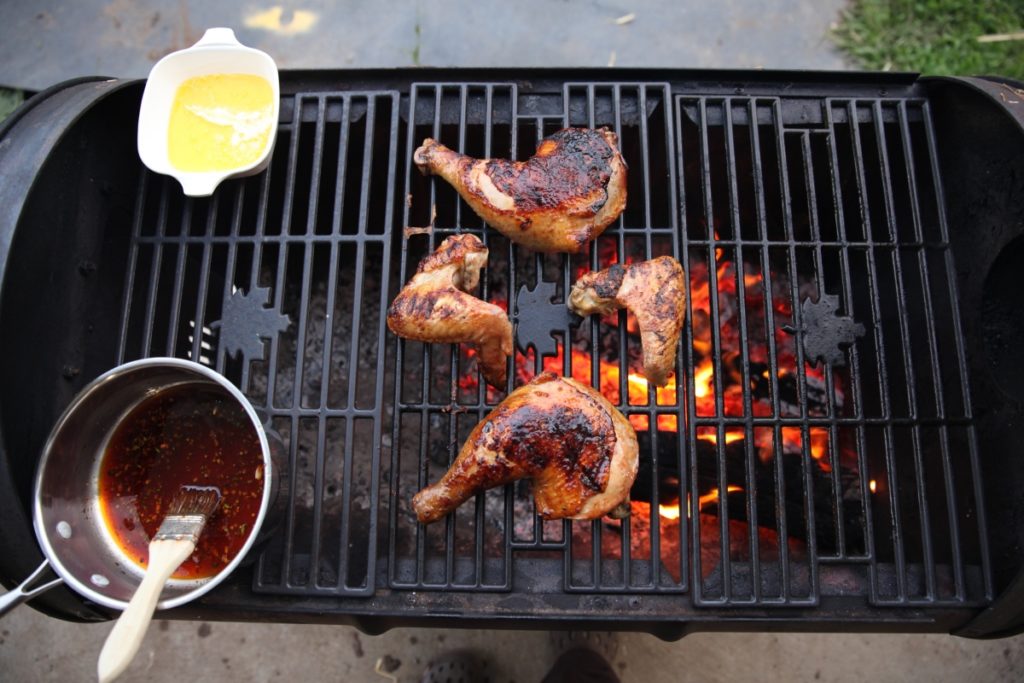
The diversity of the Sapling Evaporator makes it a useful tool on the homestead year round. Not only can you boil gallons of maple syrup, but you can grill, and even smoke on it with the added package. For us, multipurpose tools are of the upmost importance around here, and having a useful tool that provides several functions is key.
It also makes for some pretty fun times hanging around the grill and listening to music while cooking some homegrown chicken with home tapped and boiled maple syrup. Does it really get much better than that?


Pingback: Making Maple Syrup More Efficiently - The Modern Day Settler