We are big fans of chicken bone stock in this household and we go through a lot of it! If I had to put a number on it, i’d say we probably consume between 30-35 gallons of chicken stock a year. As I break down chickens, I save the back and breast plates and toss them in the freezer. Same with a roasted chicken carcass, wing tips, feet, or any other scraps. Once I have a large supply squirreled away it’s time to whip up a large batch. I do this about every two months or so and pressure can the stock so it stores on the shelf in my basement.
I used to make my stock on the stovetop and would let it simmer away for 24-36 hours to fully develop flavor. I hated the humidity it put into the kitchen, how I had to babysit it for forever, and the space the large pot hogged up on my stove. One day I thought to myself there has to be a better way to do this! Well folks, there is! Enter the pressure cooker. And no, I’m not talking about an Insta Pot (which yeah, you can use those but that’s small volume). I’m talking about a “workhorse 22 quart I can make a lotta food pressure cooker”. This has cut my time down considerably and what used to take a day and a half to develop flavor, now takes two hours! That’s the beauty of a pressure cooker. It does everything in a fraction of the time without sacrificing flavor or nutrition. It’s just as delicious and collagen rich as the stovetop version, so why wouldn’t I do this this way?
The beauty of making chicken stock is it’s really hard to screw up. I personally just eyeball everything with about everything that I do and chicken stock is no different. So if I accidentally add too much water and it’s too diluted, I just let it boil down a bit after to evaporate water and make it more concentrated. If I don’t add enough water and it’s too concentrated, then I just add more water after the fact! My ingredient amounts are pretty fluid, but again i’m an eyeballer.
Ingredients
- Chicken carcasses and bone scraps
- 3-4 large onions cut in half
- 1 celery bunch broken into large pieces
- 2-3 pounds carrots broken into large pieces
- large bunch thyme
- palmful of sea salt
- palmful of whole peppercorns
- cold water
So at this point you may be reading my ingredients and thinking how many chicken bones? How much water? If that’s you shhhhhhh it will be okay. Here is what I do:
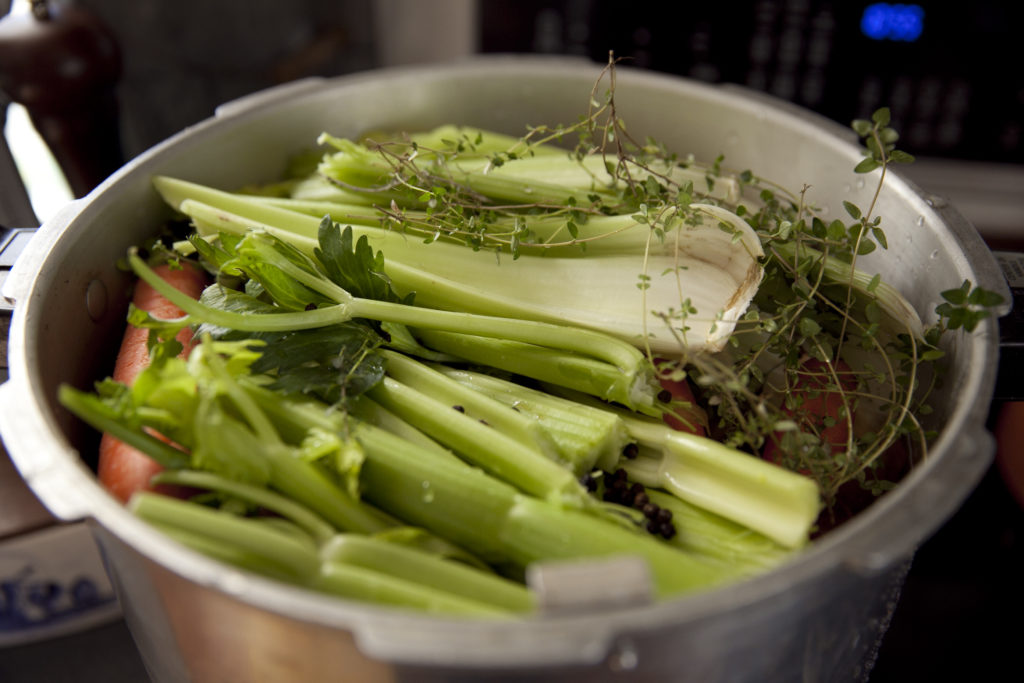
I always put my chicken bones in first. I put them in the pressure cooker (and really push them down to squeeze more in) until it’s about 2/3 full. Then I grab my onions and cut them in half skins and all and try and shove them down in any space I can. Don’t peel, dice, or do anything special just cut them in half whole! Then I take my carrots and celery break them up into large pieces with my mitts and push them down on top of the chicken bones. Then top it all off with a bunch of fresh thyme, whole peppercorns, and salt. After all of the ingredients are added, I pour in cold water until it reaches the fill line which on my cooker is approximately 2/3 full. Don’t waste your time cutting veggies into small pieces. Again that’s the beauty of a pressure canner. The flavors will extract when they’re left whole and it will make straining them out a lot easier!
Let's Talk about Salt Baby
Here is my salt disclaimer. First of all, salt is what make flavors pop. Let’s just make that perfectly clear. So chicken stock NEEDS salt. Now, that being said yes it is possible to overdo it. So my word of caution is to add salt (I noted a palmful) while you are pressure cooking the stock. But don’t go crazy because you can always add more later. I tend to do my salting at the end once I have the ideal concentration. I would hate to have to dilute my chicken stock because I added too much salt initially. So again, salt in the beginning but not too much because you can always add it later!
Directions
- After everything has been added to your pressure cooker, you will want to cook it for 1.5- hours at 15 pounds of pressure according to your pressure cookers instructions. I have tested going over the 2 hour mark and didn’t find it to be beneficial. I usually will let mine go for the full two hours to fully extract that flavor.
- Once time is up, turn off the heat source and let the pressure naturally release on its own before opening the lid.
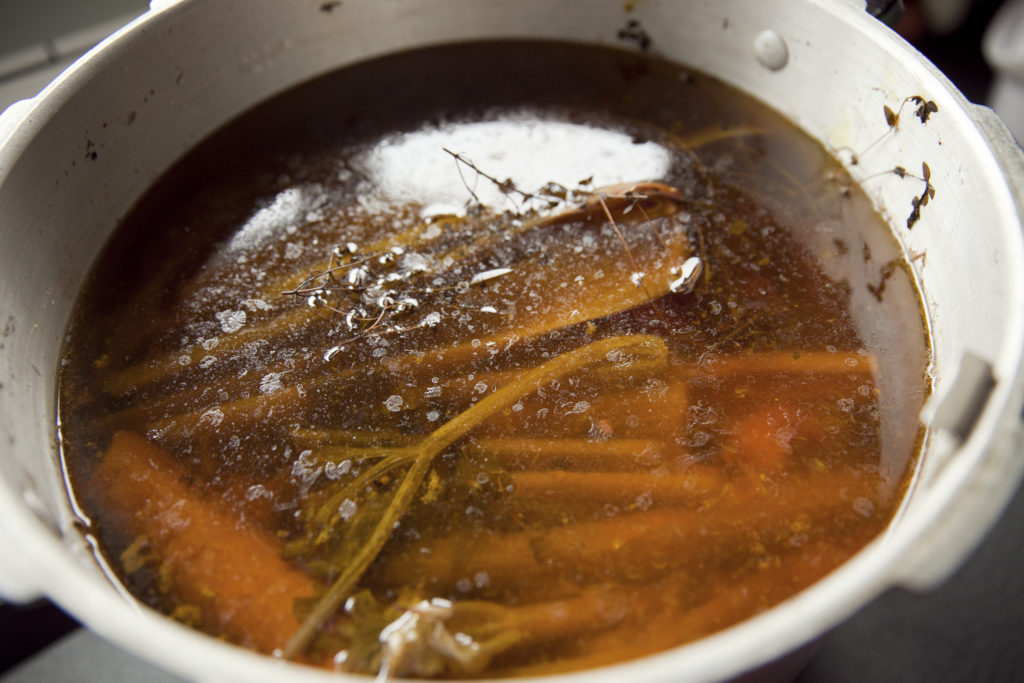
3. One the pressure has released open the top and take it in. The aroma, the color, the beauty! Ladle all of those solids out into a colander over a pot to collect the juices that drip through. Push the solids down to really help extract that delicousness. I bet you’re pretty happy I told you to leave them in big chunks so they’re easier to scoop out huh? You’re welcome.
4. After you have scooped out all of the solids, put a fine mesh strainer over a pot and pour the liquid through. Some people will use cheesecloth here to collect every single little fine chunk. That’s fine. Sometimes I do, sometimes I don’t. Totally depends on my mood. Pour the juices you collected from the solids draining through the fine mesh strainer into the pot to combine.
5. Voila! You have chicken stock. Give it a taste. Is it too bland? If so, let it simmer on the stove top and reduce until it has that perfect chickeny flavor and then salt accordingly. Is it just right? Add more salt if needed, if not leave it alone!
6. Once you have it at the perfect flavor you will want to try and skim as much fat off as you can. I love fat, and always end up leaving some in my stock but too much is not good. It give the stock an oily, filmy feeling on your tongue that you just can’t get off. If you let the stock cool down a bit, the fat will rise to the top and allow you to skim it off with a large spoon or turkey baster. Annie loves chicken stock day, she gets all of the fat poured over her supper.
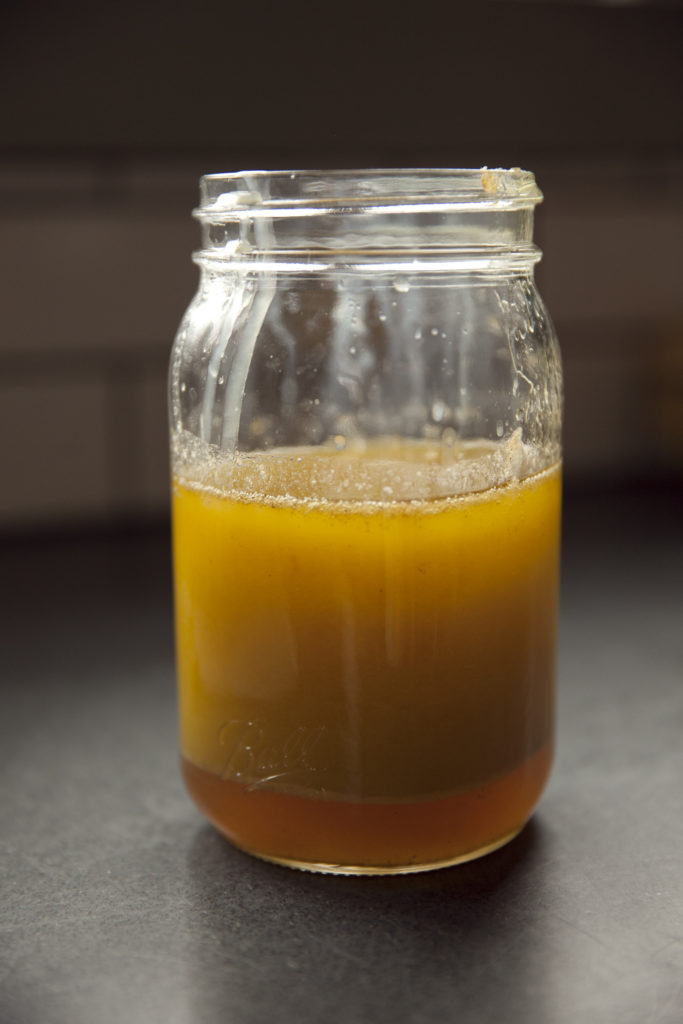
7. Preserve it! Freeze it or can it, it’s your choice. I am a canner, because I like it to have it ready and on hand whenever I need it and don’t want to have to worry about thawing it. Plus, we have four freezers but they are full of meat and that space is valuable. Preserving stock requires it to be pressure canned (can’t do a water bath) but I find it to be well worth the extra effort.
Because we raise our own Ranger chickens, we have no shortage of chicken bones around here. But even if you don’t raise your own birds you can still easily make your own chicken stock at home! Buy a whole chicken at the store and break it down instead of buying everything pre-butchered and boneless. Or, if you get a rotisserie chicken save the carcass! No matter how your source the ingredients, chicken stock is a great way to minimize waste while stretching your dollar and creating a delicious and healthy food.


Pingback: Wild Mushroom & Herb Chicken with Chive Drop Dumplings | The Modern Day Settler