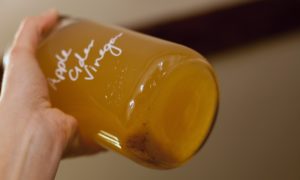
- Add your milk (I never make less than a gallon at a time) to your Instant Pot and put the lid back on. Hit the “yogurt” button until it says “boil”. Then walk away! Go carry on for whatever you have to do for the next hour while the IP pasteurizes your milk until it beeps and it says “yogurt”.
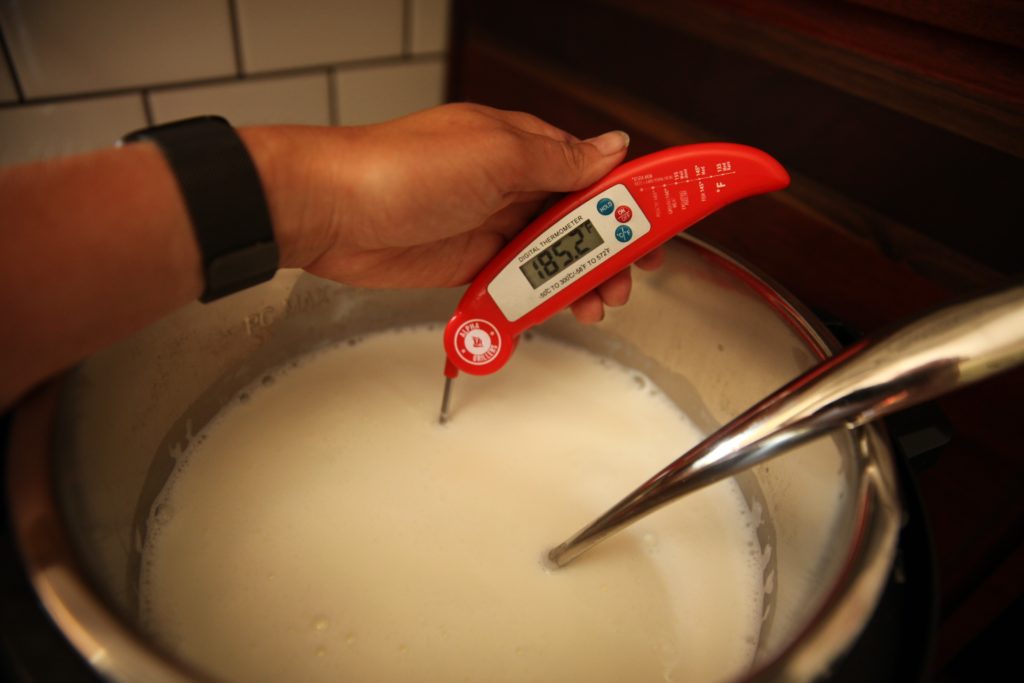
- Once it’s done pasteurizing remove the lid and temp it. Instant Pot has an acceptable range to which it will pasteurize milk, but mine doesn’t always get the temperature I need for yogurt.The temperature that you NEED for thick yogurt is 185°F. So, take the temperature. Did it pasteurize it to 185F on its own? If it did good, put the lid back on. If it didn’t, don’t sweat it. Hit the saute button once so it’s on “low” and constantly stir while checking the temperature. Even if your IP brought it to the lowest acceptable temperature within range (167°F), it will only take a few minutes to get it up to 185°F it needs to be. Continually stir so you don’t scorch the milk, and once you achieve 185°, turn off the IP, and put the lid back on sealed

BINGO
3. Now, go about your day. The milk has now been pasteurized but has to drop back down to the range your culture specifies before it can be added. I personally pasteurize my milk first thing in the morning after milking. It takes all day long to cool off to the 106°- 110°F range my culture needs, and then it incubates overnight and is ready to chill when I finish milking the next day! It is the perfect system for me.
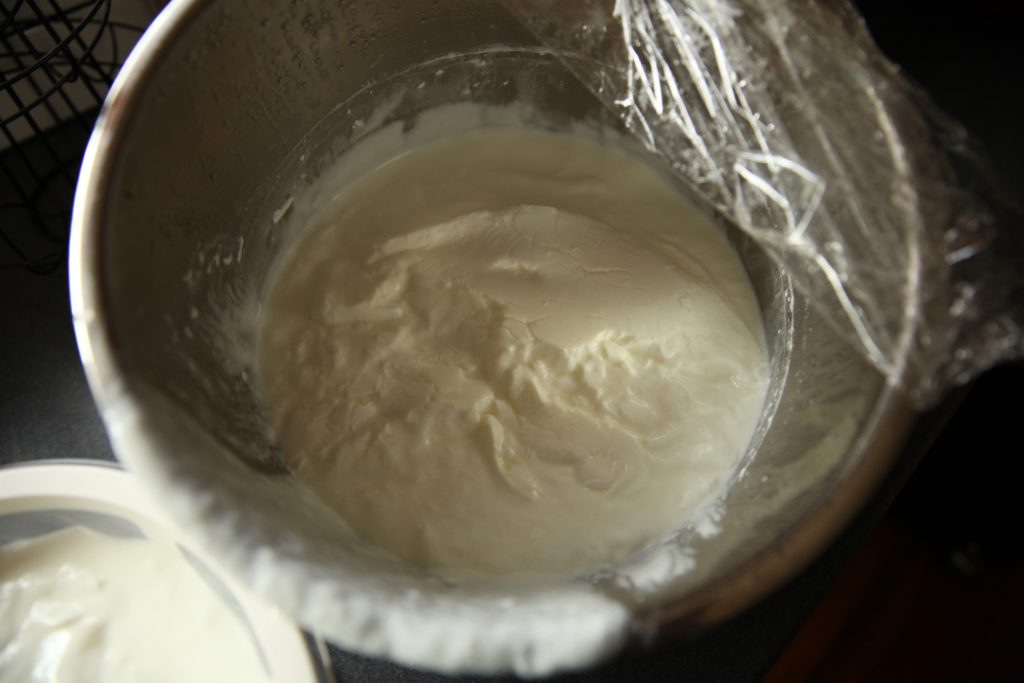
4. Once the milk has cooled down to your cultures specified range, (again mine is 106°-110°F) remove the skin that formed on the top of the milk and add the amount of culture specified on the bottle that is needed based on the amount of milk. Give it a good stir to make sure its fully incorporated into the milk. Put the lid back on sealed, and then hit the “yogurt” button again until it’s at “normal” and set your time anywhere from 10 hours minimum, to 12 hours. 10 hours is the minimum goats milk needs to properly set, anything beyond that really is a matter of personal preference as well as what time it will end (for example if 10 hours means it’s going to be finished at 4 am I will incubate for 12)
5. Walk away! The IP will maintain the perfect temperature to incubate your culture and do all the work for you while you go about your evening and sleep.
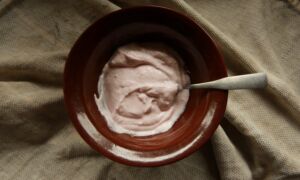
6. Once the 10-12 hours are up, you want to remove the entire pot filled with yogurt. Now, you can do one of two things here. You can put the yogurt into containers in the fridge as is and eat it that way, or if you like really thick and creamy greek style yogurt such as myself, you can strain it
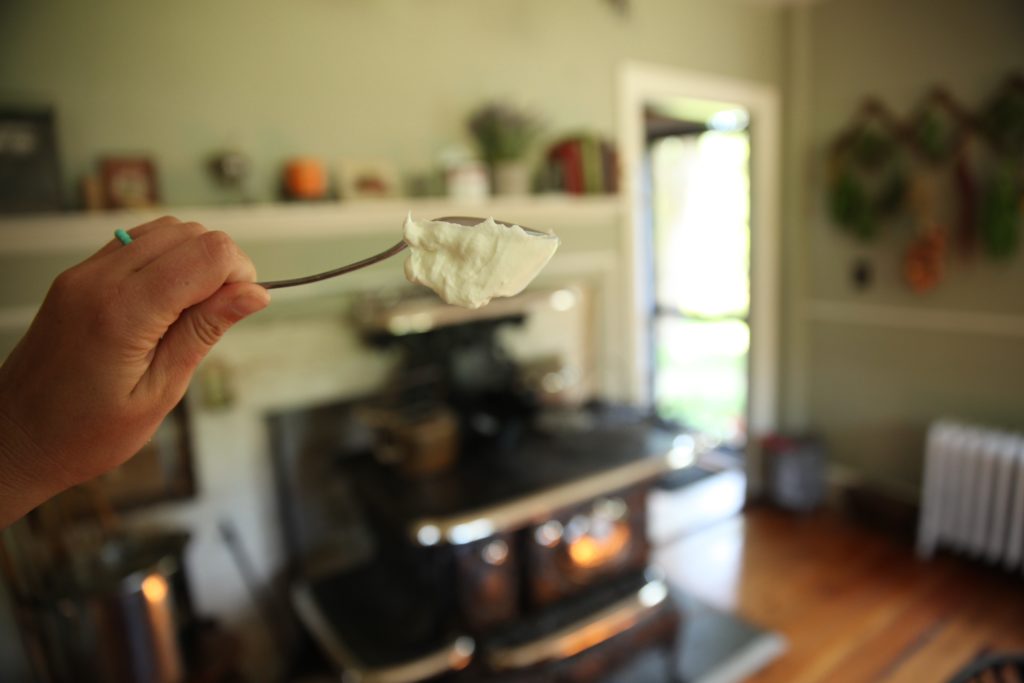
7. If you like your goat’s milk greek yogurt thick, put the entire pot with the yogurt in the fridge.Thoroughly chilled yogurt strains better than warm, so leave it in the fridge until it good and cold. I usually leave it in there until the evening, which is about 12 hours. Then, once it’s chilled, pour it into your Greek Yogurt Strainer, each one holds a half gallon – which is why I have two!
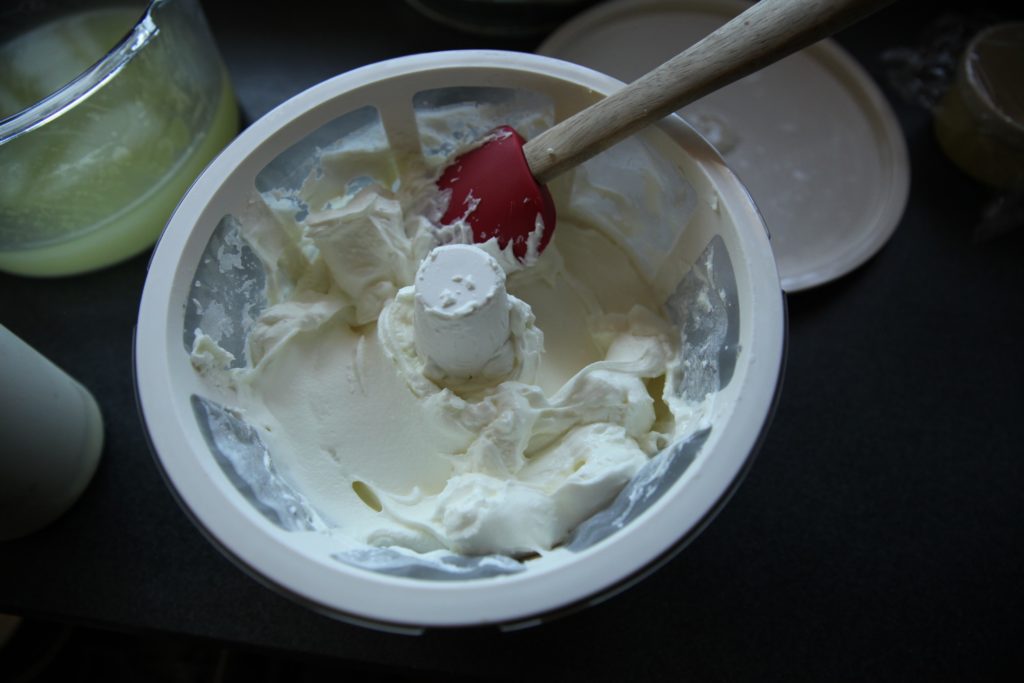
8. Put the strainers in the fridge until it reaches your desired consistency. I used to strain for ~12 hours, but I have been straining for a full 24 to get a really good and thick yogurt. If you happen to forget about it and overstrain, no worries! Just mix some of the whey back in. Put it into containers and store in the fridge. While it never lasts long around here so I can’t give a firm shelf life, I will say I have had yogurt that was 2 weeks old and will still just as good as the day I pulled it out of the strainer!
9. Prepare to become a yogurt addicted monster such as myself and enjoy it with anything and everything you can possible put in it. May I suggest frozen goatgurt?

Awesome tips, Kate! Especially the one about the seal, something I wouldn’t have thought of!
YES! That was actually a fantastic tip someone told me, and after making chicken stock and smelling the seal even after washing it I can TOTALLY see how it would ruin a perfectly good batch of yogurt!
Thank you for posting this. We just bought a insta pot so we can do this method. We have a good pressure cooker and it does have the yogurt setting. Can’t wait to do this!!
YESS!!! Let me know how it goes! It’s THE BEST!
Well I made yogurt! Your advice was perfect. Thanks for this post.
YES!!!!!! So happy it turned out well for you, enjoy!!!
What’s the ideal incubation temperature?
110 degrees F
Thank you for your reply! Could you also say how much yoghurt culture you use per gallon?
Whatever culture you end up getting will specifically give the amount needed per gallon of milk!
Hi Kate! At what point would I add vanilla? Do I use vanilla extract or something else? New to everything homesteading over here, thanks for your help! <3
Hi! I make mine plain and then flavor it with whatever I want when it’s time to eat it. I see most people add vanilla/sugar when they’re pasteurizing the milk. Problem with that is if you strain the final yogurt to make it thicker, some of that flavor/sweetener will be lost when the whey drains out. If you waited until the end to add it, the flavor may not properly permeate the yogurt as it would when you added it at the beginning. May have to experiment, I’ve never done it!
Pingback: Frozen Goat Milk Yogurt - The Modern Day Settler
Awesome recipe Kate!! Have my strainer in the fridge and going to start another batch in the am. 😍 Thank you!!
Yummmmmm 🙂
I purchased extra seals for the instant pot for precisely the reason of smell. I use one for beef, one for chicken and one for yogurt.
I’m going to make this recipe soon. I make regular lebanese yogurt all the time so it should be the same process.
Thanks for posting.
Having dedicated seals is something so many people have had to learn the hard way I’m sure! It’s just something you dont really think about! Good luck with the recipe!
Hi Kate – if I’m starting with pasturized goat milk, should I skip the heating to 185F step and only heat to 106-110F in order to add cultures?
Hi! Yes, just skip that step and gently heat it to 106-110 and go from there. Just make sure it isn’t ultra pasteurized!
Hi Kate,
I have been (attempting) yogurt for the past year with European (aka “runny”) results. This is the FIRST TIME I’ve had thick yogurt after incubation. I did not have a culture, just used 1/2 cup of Fage 5% yogurt instead. Can’t wait until it cools down to taste it. Thank you for sharing your process!
Oh phenomenal! I hope it turned out like you hoped!