Hear ye! Hear ye! Calling all dairy lovers. I have a new love for the summer of 2020. While 2019 was the year of Goat’s Milk Greek Yogurt, 2020 will be dubbed the year of Goat’s Milk Skyr. What is Skyr you ask? And how is it different than Greek yogurt? Well, let me explain.
Skyr is Iceland’s version of thick yogurt, and has been around for centuries upon centuries. You may know the name brand “Siggy’s” that can be seen in some grocery stores. While technically Skyr is a soft cheese because it is made with rennet, it is in fact consumed as a yogurt. It’s thick, creamy, has a whipped-like texture, and is absolute heaven. Traditionally it is made with skim milk so it is low in fat. Yet, through the powers of rennet it still can achieve that thick and creamy consistency. We are a high fat household, so this is not something that is appealing to me from a dietary standpoint per se. However, if you have a milk animal that is lower on the butterfat percentage scale and you struggle to get super thick and creamy yogurt, this is the recipe for you!
Just like with any other yogurt, there are several different ways to make Skyr. You can buy a dehydrated starter culture or use some fresh yogurt to culture. You can make it in the instant pot or other means of incubation. You can make goat’s milk skyr or cows milk skyr. I am going to show you how I make it and what works for me! If you have already followed my greek yogurt and mozzarella recipes, then you already know the steps. Goat’s milk skyr is like if these two recipes had a baby. A beautiful, creamy, and highly addictive baby.
What You Need
- 1 gallon Raw Goats Milk (you can use pasteurized as long as it isn’t ultra pasteurized)
- 1/2 cup Skyr Culture – I used a 5 oz container of plain Siggy’s to start
- Instant Pot – make sure it has the yogurt button!
- Cheese Skimmer
- Instant or Quick Read Thermometer
- Greek Yogurt Strainer
- 1/4 teaspoon QUALITY liquid animal rennet dissolved in 1/4 cup cool water
The Process
If you’re using raw milk follow steps 1-3 below to pasteurize. If you are using milk that’s already pasteurized, simply warm the milk up to 105°F-110°F then start with step 4
- Add your milk to your Instant Pot and put the lid back on. Hit the “yogurt” button until it says “boil”. Then walk away! Go carry on for whatever you have to do for the next hour while the IP pasteurizes your milk until it beeps and it says “yogurt”.
- Once it’s done pasteurizing remove the lid and temp it. Instant Pot has an acceptable range to which it will pasteurize milk, but mine doesn’t always get the temperature I need for yogurt.The temperature that you NEED for thick yogurt is 185°F. So, take the temperature. Did it pasteurize it to 185°F on its own? If it did good, put the lid back on. If it didn’t, don’t sweat it. Hit the saute button once so it’s on “low” and constantly stir while checking the temperature. Even if your IP brought it to the lowest acceptable temperature within range (167°F), it will only take a few minutes to get it up to 185°F. Continually stir so you don’t scorch the milk, and once you achieve 185°, turn off the IP, and put the lid back on sealed
- Go about your day and let the milk drop down to 105°F-110°F. Once it cools, remove the skin that forms on the top of the milk. If you need to speed up the cooling process you can put the pot in the sink with cold water stirring to cool it down.
- In a small bowl add 1/2 cup of your Skyr starter culture yogurt and ladle in a couple spoonfuls of your 105°F-110°F milk. Whisk to break up, and add more milk until it is a runny and smooth consistency. No lumps!
- While gently whisking the milk in the instant pot, slowly pour in the starter culture/milk slurry. Stir well to make sure it’s thoroughly combined.
- Add your (7) drops of liquid animal rennet to 1/4 cup of cool non-chlorinated water and give it a slight swirl. (don’t do this step in advance, do it right before adding) Add the rennet and water mixture to the milk, stirring in and up and down motion for 15 seconds.
- Put the lid back on sealed, and hit the “yogurt” button until it’s at normal and set your time to at least 5 hours. 5 hours is the amount of time the yogurt needs to incubate to properly set a curd. This time frame yields a thick but very mild yogurt, with no tartness. If you are after more of a tart yogurt, you can incubate longer (this will not make it any thicker, just more tart). Remove the lid and taste test periodically as it incubates until you reach your desired tartness, and remember what your ideal time length is to set your IP in the future.
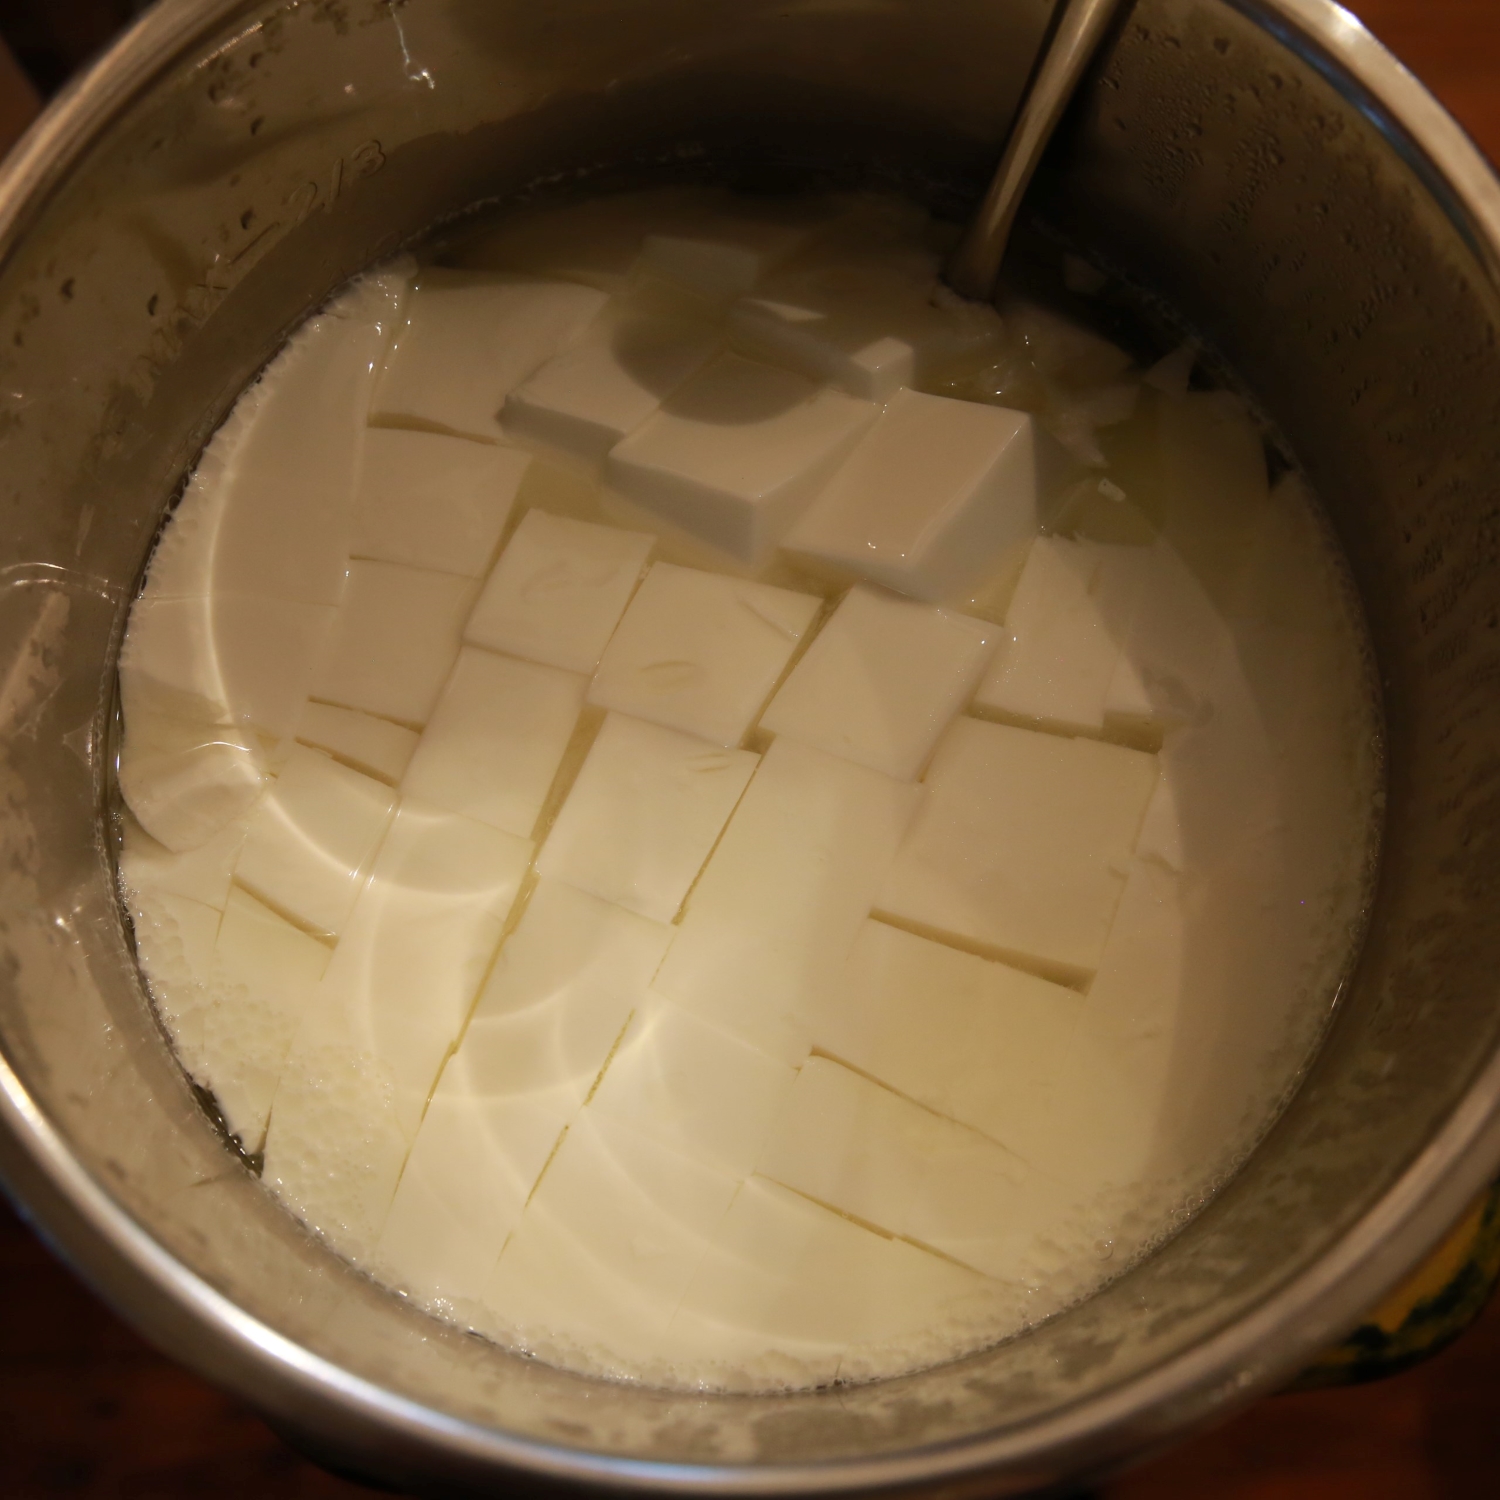
- Once your incubation time is up, you should have a nice set curd with visible whey around the sides and top. Use a long knife to cut parallel lines into the curd to bottom of pot. Turn pot 90° and cut parallel lines perpendicular to the first ones creating small cubes.
- Using your cheese skimmer, gently scoop the curds from the pot and put them into your Greek Yogurt Strainer. Just like with the mozzarella, you want to be gentle with the curds. Scoop gently, don’t dump the curds!
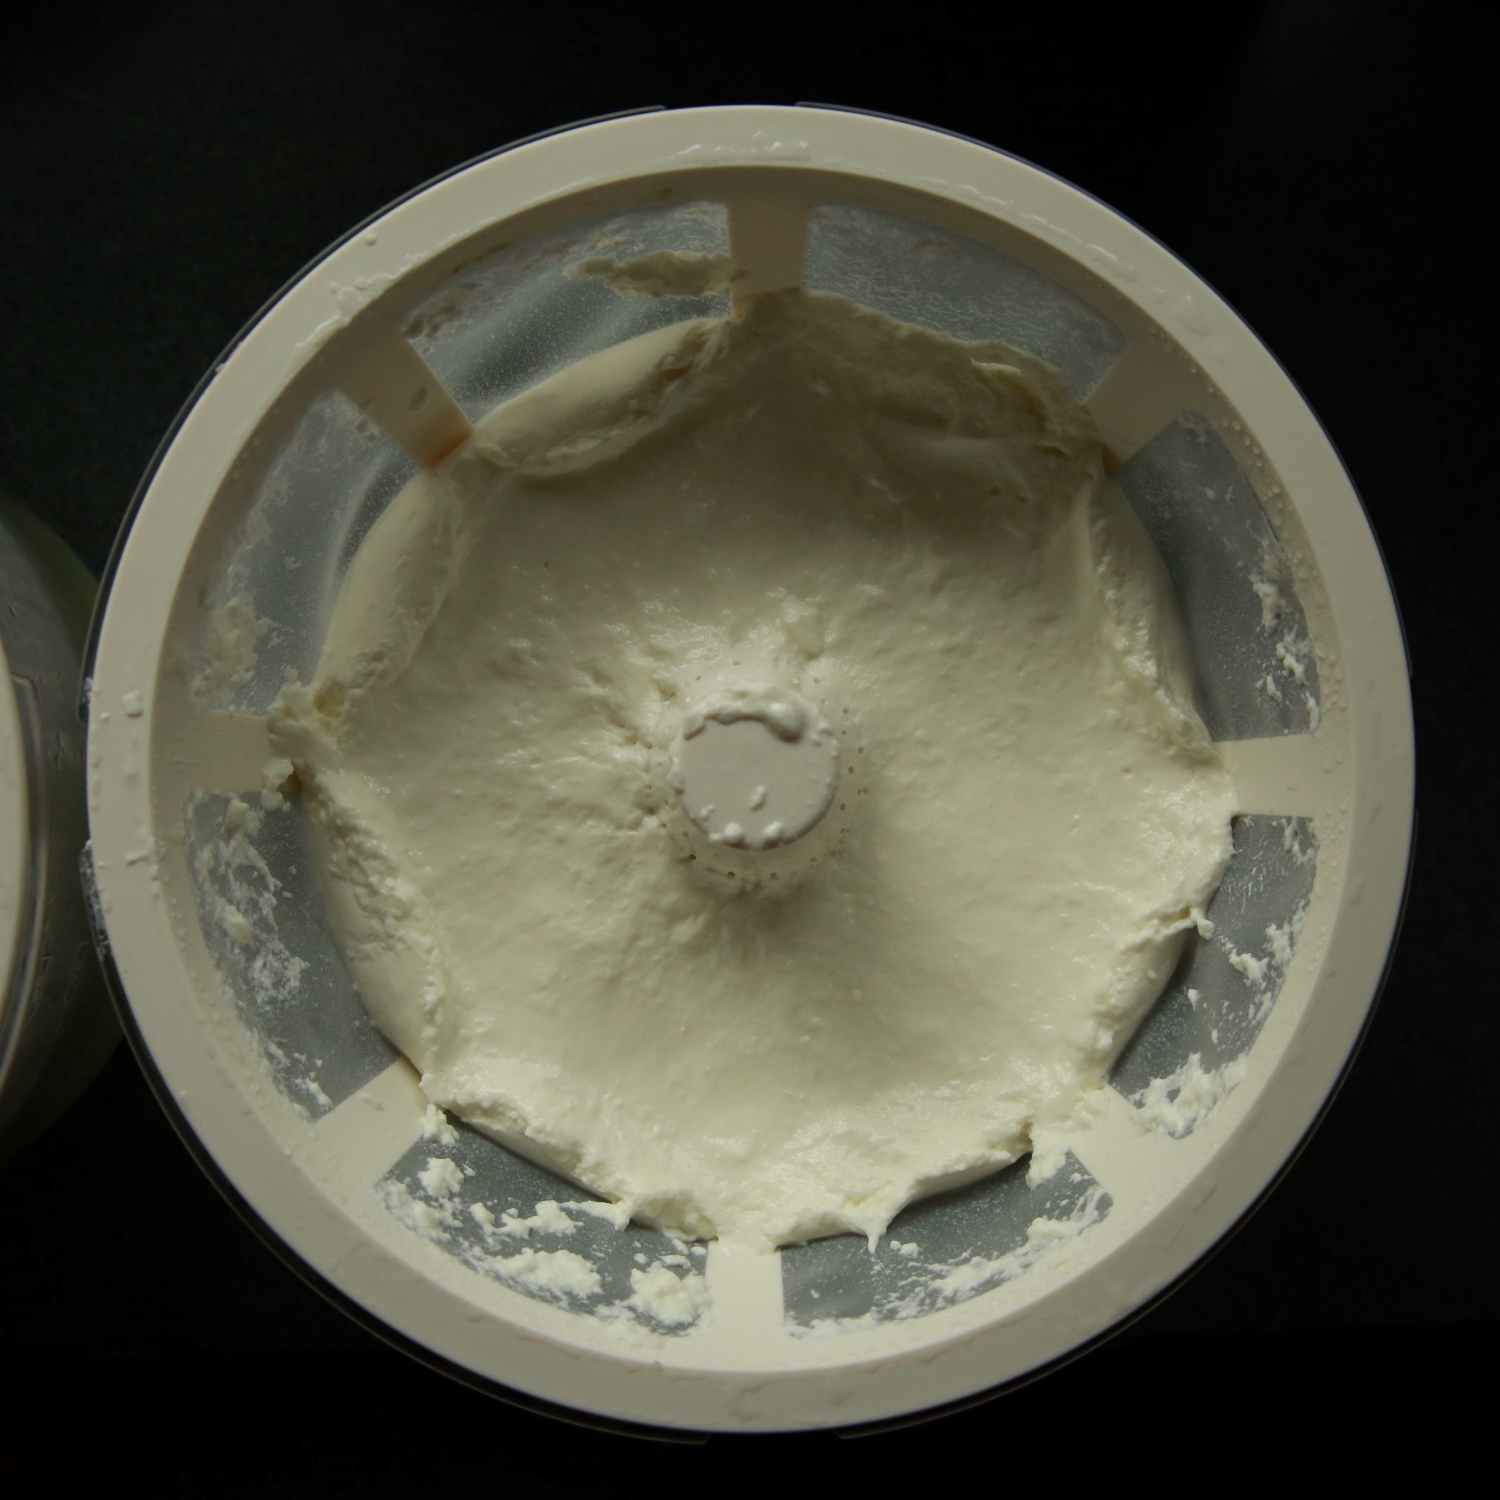
- Let strain in the refrigerator for at least a couple of hours for thin Skyr, or overnight if you like it on the thick side. (*Note my favorite batch I incubated for 7.5 hours and then accidentally left it out on the counter to drain for a full 12 hours. It was my most perfectly tart batch yet!)
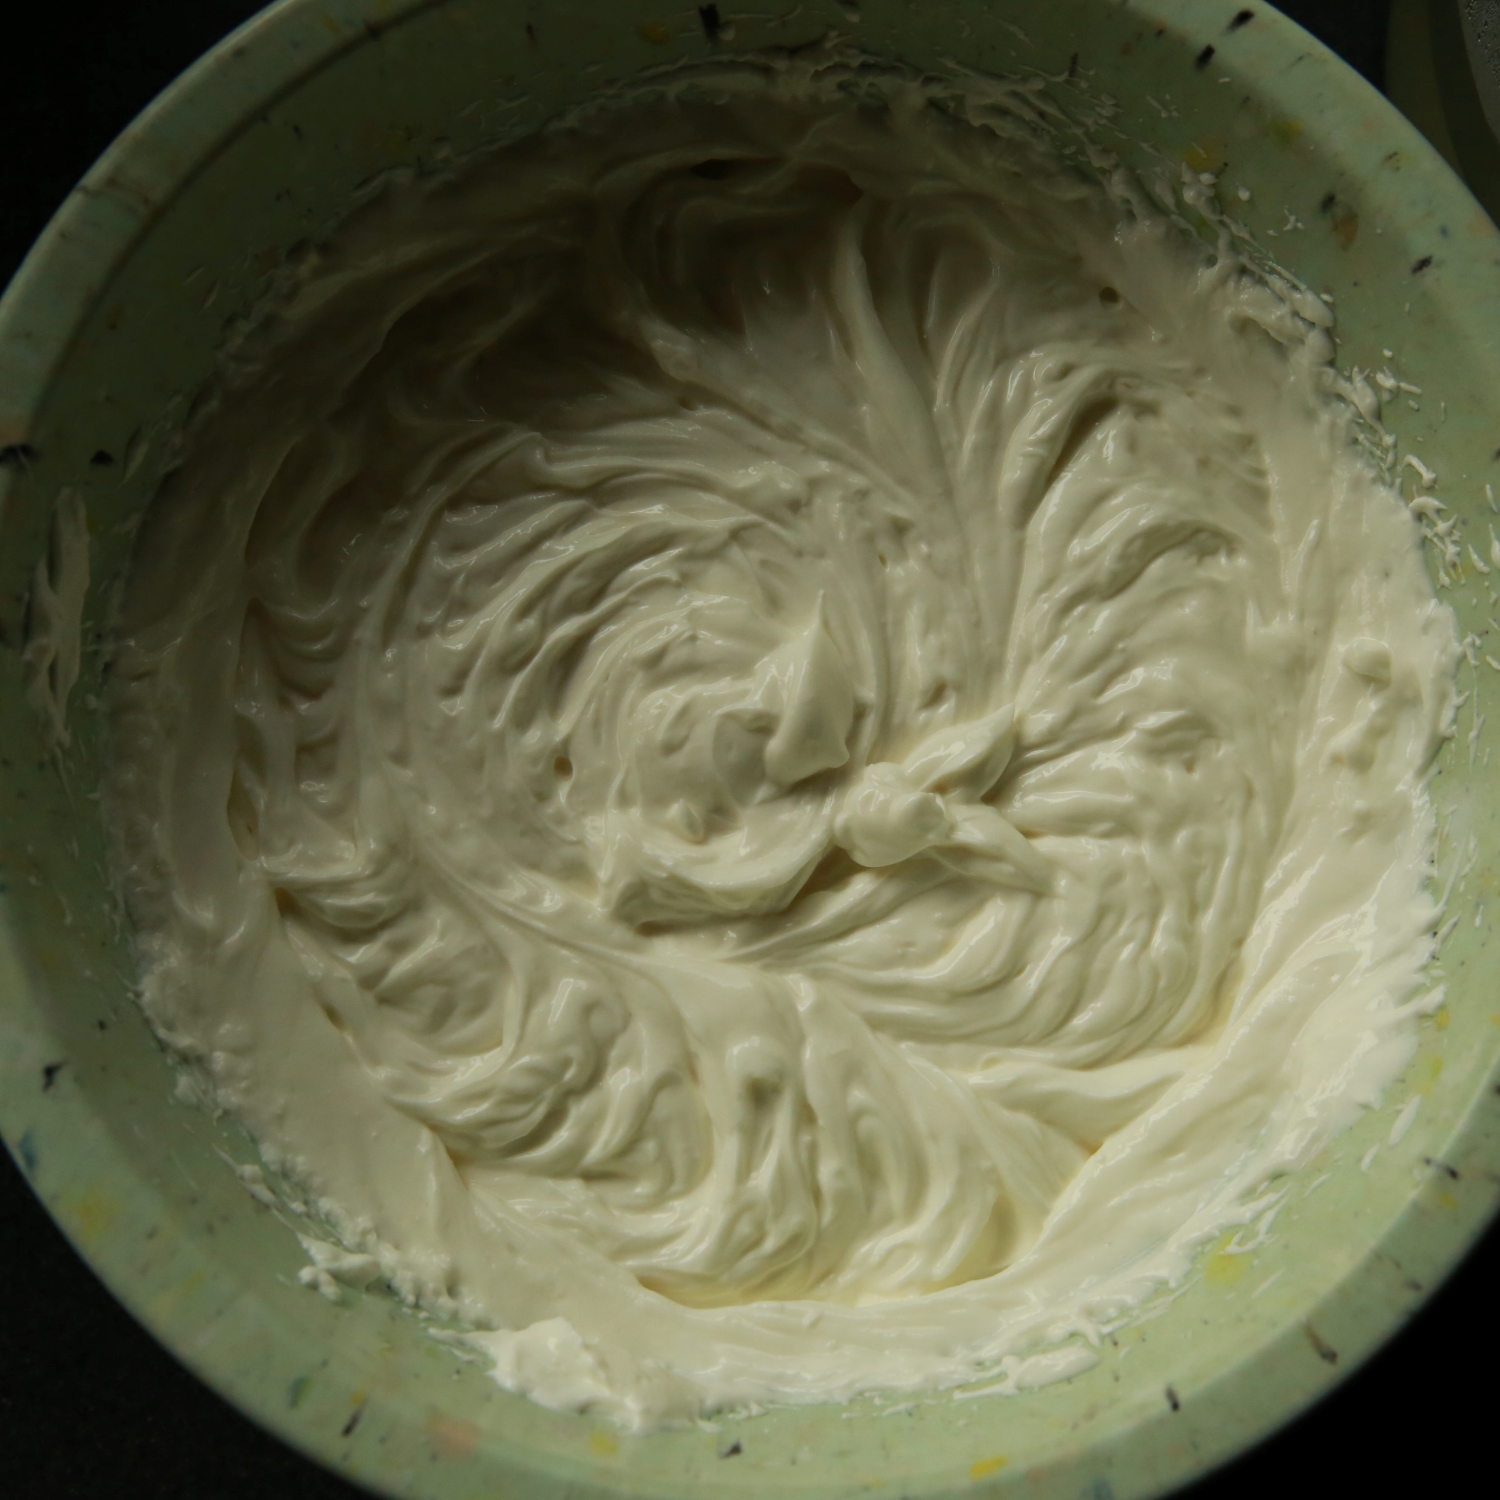
- Once your Skyr is strained to desired thickness, scoop it out of the strainer and put into a large bowl. It won’t look like the most beautiful thing in the world, but the next step is where the magic happens.
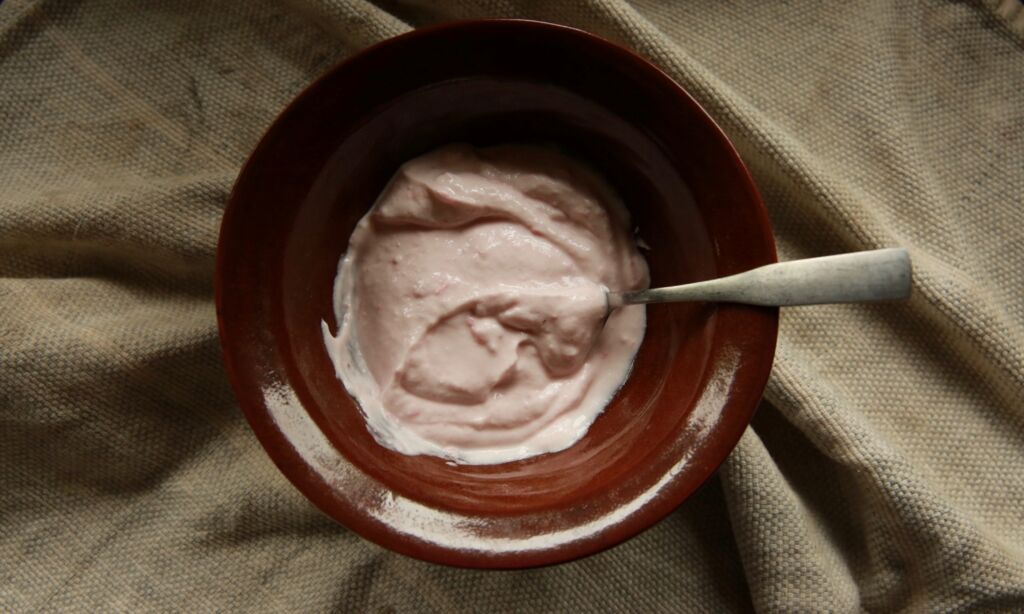
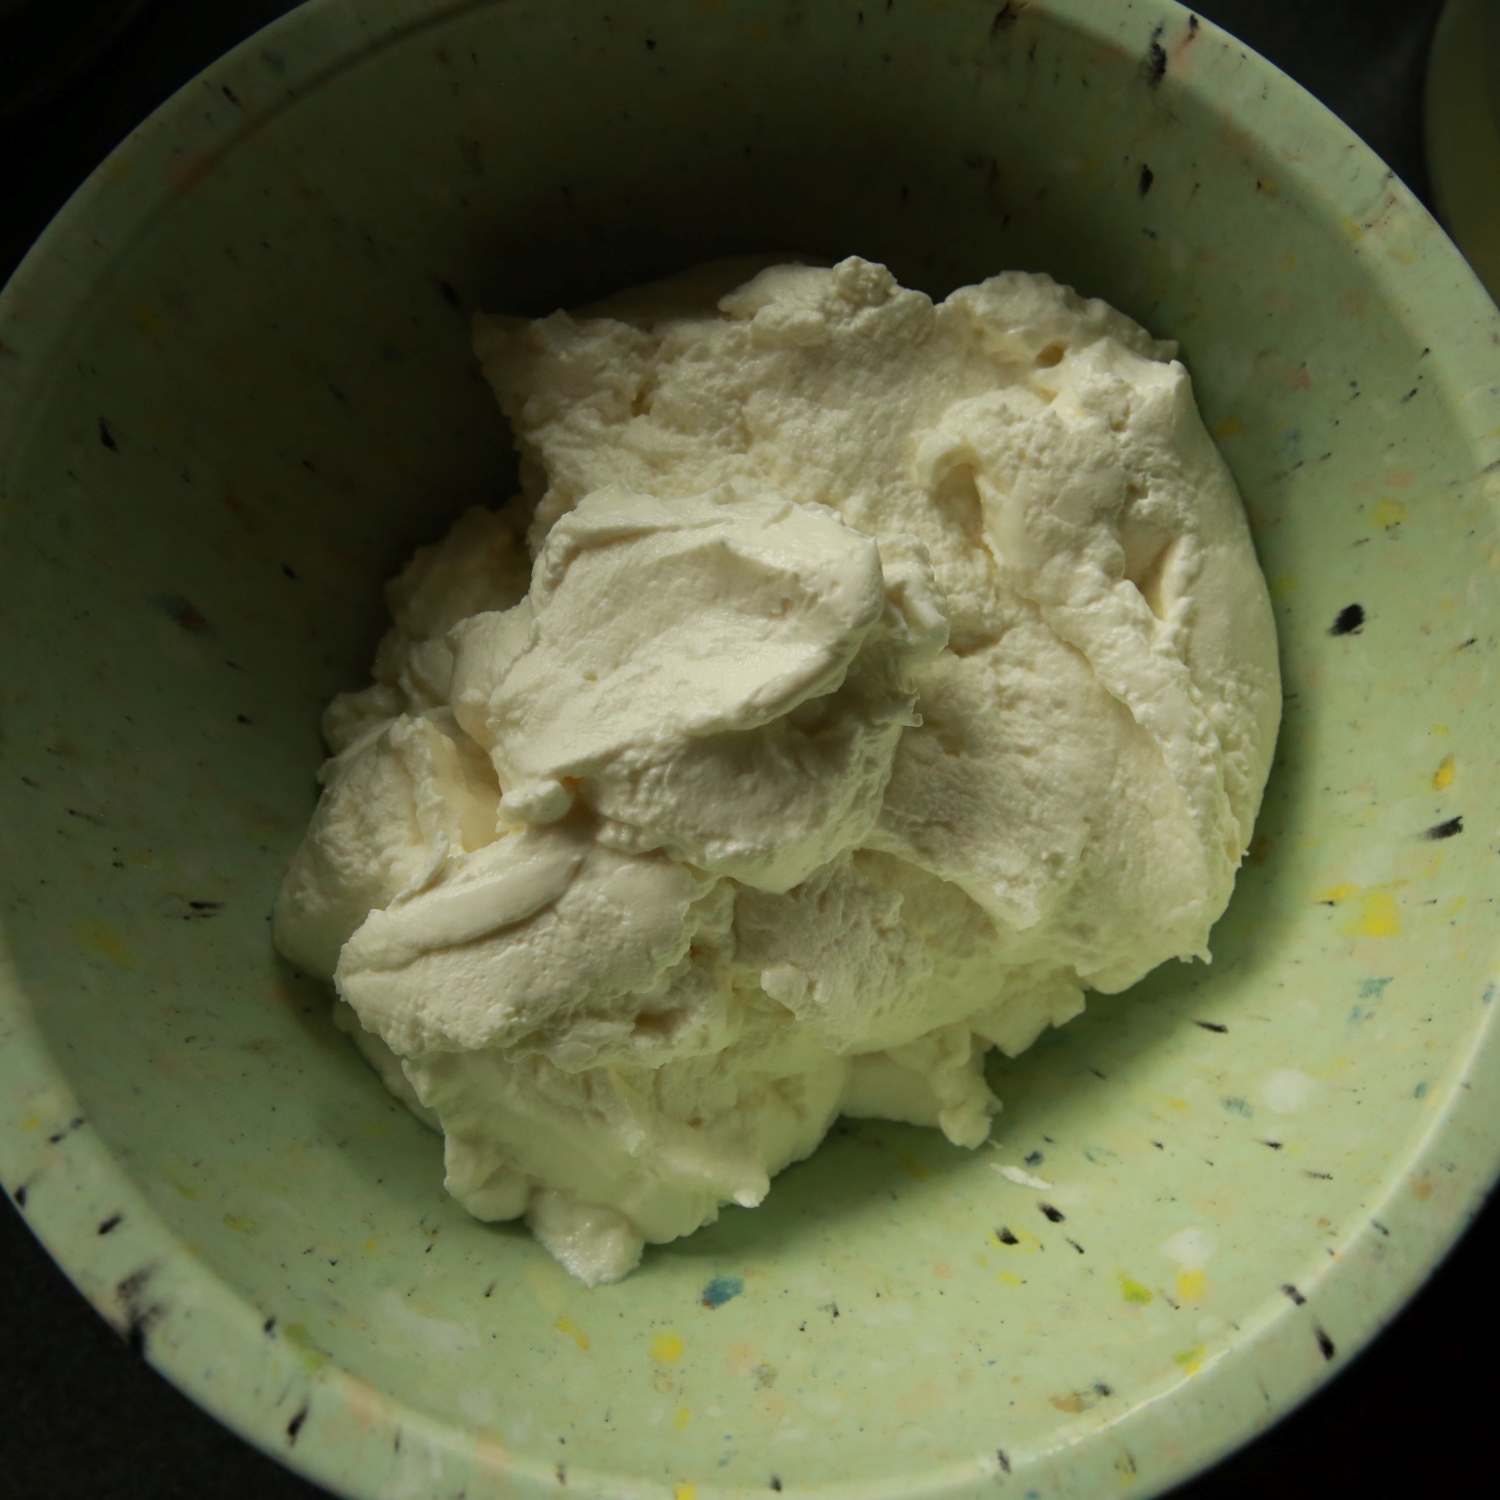
- Using a hand beater preferably or good ole’ elbow grease and a whisk: whip it good. It will transform into the creamiest, thickest, lightest, most heavenly texture imaginable. I personally am a plain yogurt person 99% of the time as I like to flavor my yogurt differently each time I eat it. But, if you want to flavor it, this would be the time to add some pureed fruit, vanilla bean paste, etc. I am on a kick currently where I blend in some fresh pureed berries of whatever is in season. It’s like frozen yogurt without being frozen.
- Put into an airtight container and keep in the fridge. The culture will be the most active for the first week or so, so remember to save a half a cup to culture your next batch!
Happy Skyr Eating,


I am so excited to try this recipe! I literally ate the lemon flavored siggis yogurt every single morning during my whole pregnancy because it was the only thing that didnt make me feel sick. I think I’ll be even more obsessed when it’s from my own goat’s milk. Oh man, thank you for posting! 🙂
OH when it’s from your own milk it immediately is 100% better! 😀 Please report back on how it turned out!