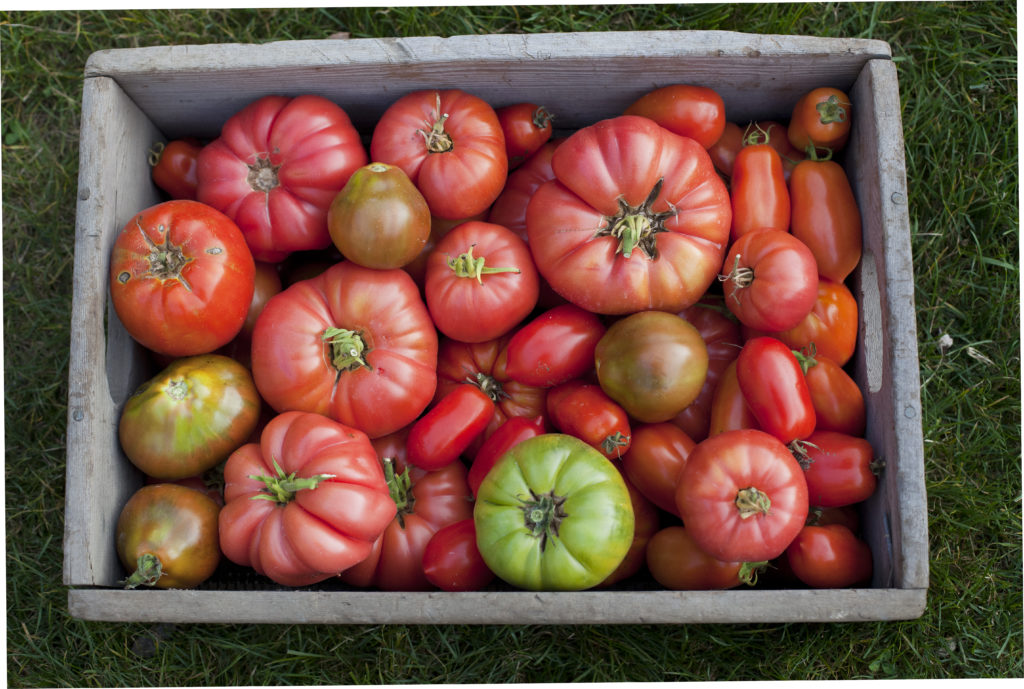
tomatoes. My family has kept the same two strains of heirloom tomatoes going for about forty years now. It all started with my great grandmother who bought some plants from an Italian man that brought them over from a trip he took to Italy. So, year after year, the best tomato is reserved, the guts scraped out, and seeds are saved for next year’s crop. And here we are almost a half century later.
So what makes tomatoes heirloom, or any vegetable for that matter? “Heirloom” seems to be a buzzword a lot of people throw around like GMO and hybrid, although I’m not sure most people really know what it means, or how it’s different than any other vegetable you buy at the supermarket.
Heirloom refers to old fashioned varieties, genetically unaltered, where the seeds are reserved each year, and planted the next. Hybrid vegetables nowadays are selected for traits to maximize the yield per plant, have tougher skins to hold up against long hauls from farm to supermarket, and to be picked green, so they will ripen during transport and on the store shelves. In theory, this all sounds fine and good, how else is that tomato from Mexico going to make it all the way to Maine if it doesn’t have a little tougher skin and can’t be picked before it’s ripe?
The problem(s) with these hybrids are higher yield plants equate to less nutritional veggies. Vegetables now versus forty, fifty, sixty years ago are far less nutritious. Because emphasis has been placed on maximizing quantity, the nutritional quality suffers. Nutrition aside, the skin on these tomatoes is so thick and tough to withstand long distance shipping, that it makes for a tougher flesh as well. If you’ve never had a non-hybrid, vine ripened, tender flesh and skinned tomato that bruises if you look at it too hard, then you truly don’t know what you’re missing!
The best part is starting your own heirloom tomatoes is not only easy and relatively hands off, but it’s cheap too! Here’s how to do it.
Get Your Seeds
Admittedly, this is the area that I have never had to personally experience due to the fact that I use seeds that were reserved from last years crop! But, never fear. If this is your first year of growing heirlooms, they are quite easy to get your hands on through any online seed catalog. Not to mention the options are endless for you to choose from! I actually have considered expanding my tomato horizons and growing a few colorful varieties.
Get Organized
There are only a few things that are a necessity to grow your heirloom seedlings:
- Seeds
- Planter with individual cells that includes a clear plastic lid (or saran wrap works as well)
- Seed starting soil
- A way to keep the soil warm ( seedling heat pad or if you’re fortunate enough to have a house that’s actually warm)
- Ample sunlight (via natural sunlight or artificial growing lights)
Step 1: Prepare Your Planter
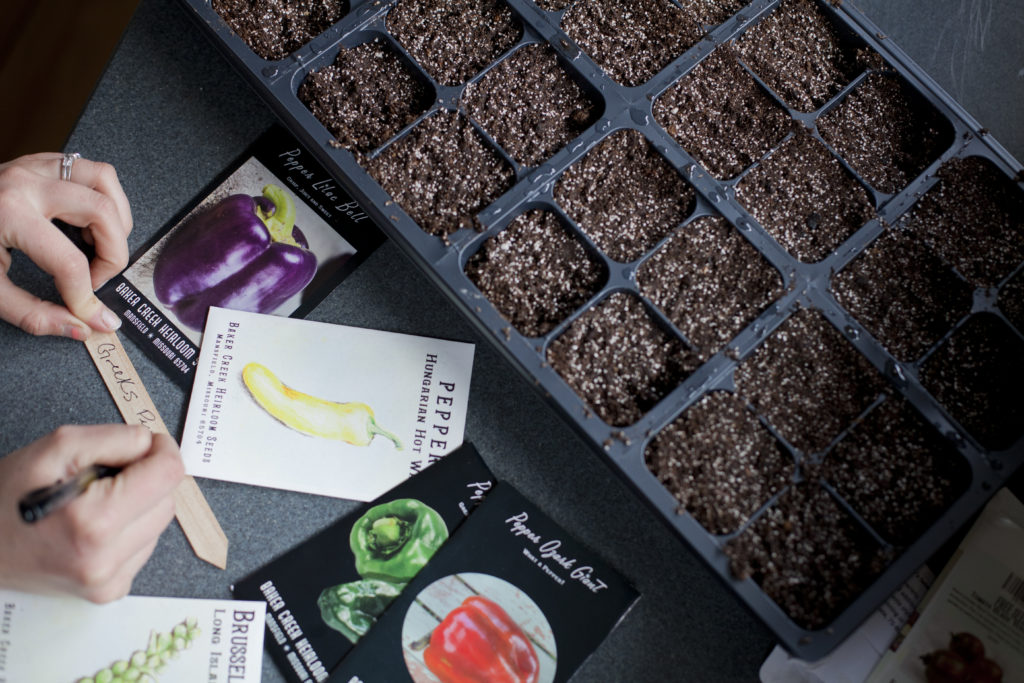
First, you want to choose a planter that has a clear plastic lid that fits over the top. I stupidly didn’t photograph it, but it’s there underneath the black plastic. When it comes to size of the individual squares, it all depends on what you have available and if you are wanting to transplant later or not. Due to my lack of preparation and last minute shopping, the nursery I went to only had a 36 cell planter with 1.5″ x 1.5″ squares. Typically, I would plant them in larger 3″ x 3″ squares so I don’t have to transplant them as they grow, but I guess it’s my own fault for lack of preparedness. This size will work just fine though for starting your seeds. In fact, I’ve actually heard that it’s best to start in smaller size containers because it’s easier to keep the soil warmer? Looks like I lucked out!
Second, get your potting soil and throw some in a bucket that you can easily mix in. Slowly add hot water to the soil, stopping to thoroughly mix before adding anymore. You don’t want soaking wet soil, but you do want it to be well moistened. When you squeeze it in your hands it should hold form and not be dripping wet. There are some conflicting theories on regular ole’ potting soil versus a seed specific starting soil. Basically, the difference is potting soil will have larger clumps, some sticks maybe, and seed starting soil is very fine. If you can find the seed starting soil then great, but, yet again I wasn’t prepared and got just regular potting soil. Pick out the big chunks and you’ll be fine, just please don’t use dirt you dug out of your yard.
Third, add your well moistened soil to the cells of your planter gently pressing down to fill. Don’t jam it in there and overpack it, but you want to apply some pressure to fill it. Level off the tops of each cell.
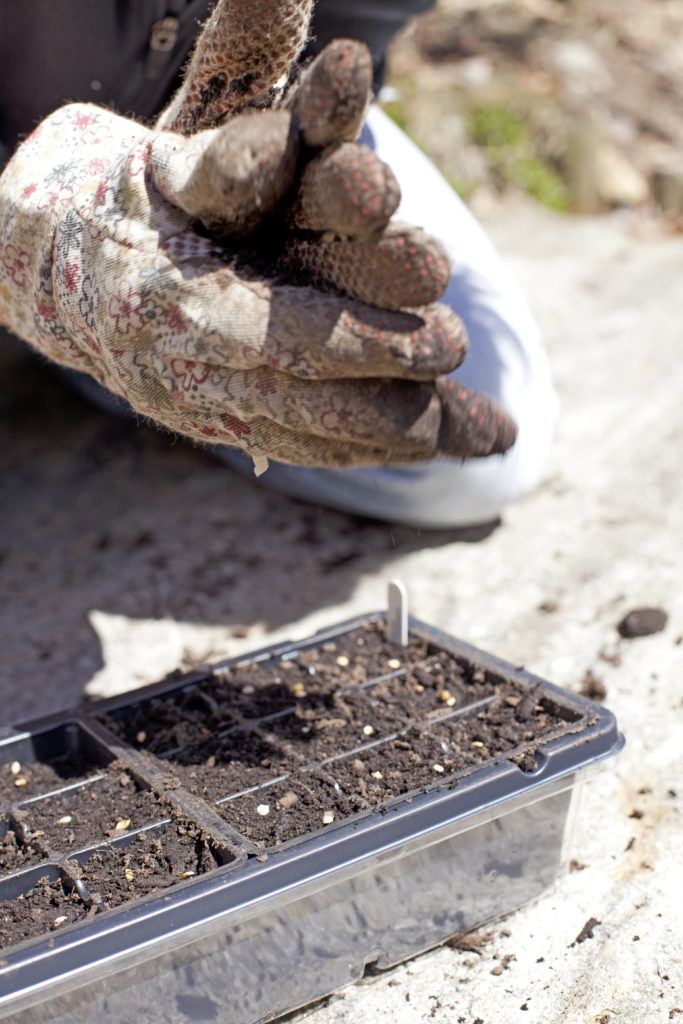
Step 2: Plant the Seeds!
Now that your individual cells are prepared, it’s time to start planting! Simply add 2-3 seeds per cell carefully spaced apart. After your seedlings start to grow, you will thin out the weaker ones leaving one tomato per cell to transplant. So, don’t worry about them having to be absolutely perfect as far as a set distance apart. As you can see from my picture, I put two seeds per, and put them diagonally one each towards a corner.
Step 3: Cover your Seeds
So, your seeds are all placed in their cells, it’s time to cover them with some soil. If you’re new to gardening let me forewarn you: this is actually a very critical part. If you cover the seeds with too thick of a layer of soil, then the seedling will not be able to break out when it germinates. The common rule of thumb is to plant the seeds 3-5 times the diameter of the seed…huh?! I don’t know about you, but I am not measuring the depth of each seed with a micrometer! I prefer the eyeball it method instead.
Simply grab yourself a handful of soil (and this is where the benefit of seed starting soil comes in as it is light and doesn’t have any clumps or sticks- if you managed to find some, good for you!) and pick out the larger sticks if you used regular ole’ potting soil like I did. Now rub it between your hands like you’re starting a fire the old fashioned way with a stick and some flint rocks- this will break up the soil into a finer consistency. Don’t be willy nilly and start moving quickly down the planter, pay close attention to how much soil is covering the cells you’re focusing on before moving on. You’re looking for a thin covering, this is the science of the eyeballing it method. Continue to do this making your way down the planter. Once finished, go back through with your fingers and lightly tamp the soil down. Again, you don’t want to pack it! But, apply some pressure and tamp it down.
Because you already pre-watered your potting soil, at this point you only need a very lightwater. To prevent erosion, use a watering can that has a head with several small holes. Give it a quick pass or two, so the top layer of soil is wetted (<- not a word but it should be), but not to erode the soil from the seeds. Cover with clear plastic top to maintain a humid atmosphere.
Step 4: Set Up Your Environment for Germination
Now that the planting is over, the most important and crucial part comes to ensure sprouting and strong seedlings. Germination is a fairly simple concept, and has only a few requirements for success:
- Pressure: Seeds need pressure from the soil to help trigger the germination process. Remember how I told you to lightly press down on the soil before and after planting the seeds? It was for a reason!
- Water: Yes, everyone knows this. But there is a fine line between providing sufficient water, and drowning your seeds in water. It doesn’t take a lot (remember how little soil there actually is in there) and the plastic cover will keep the soil wetter (there’s that word again) longer by creating a humid environment. You can get trays to put under your planter that allow you to add water to, and the soil absorbs water from underneath. If you find one like this, this is your best option to prevent overwatering but isn’t necessary. You may even consider using a spray bottle. Just make sure to always use warm water, and be very careful not to overwater, as not only may your seeds not germinate, but you could run into a mold issue as well.
- Warmth: I can’t stress this one enough. The temperature of the soil is so important. I don’t keep track of exact temperature, but I do know that my sunroom I leave my planter in tends to cool off at night. And since soil temperature should be between 75°F-85°F, I lay my planter directly on a heating pad, turn it on in the evening and leave it on all night until the room has warmed up the next morning. If you’re fortunate enough to have a warm house and this isn’t an issue, I’m envious for more reasons than just starting seeds.
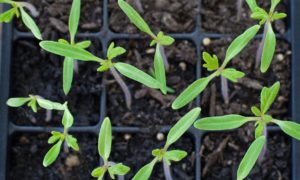
- Sunlight: For strictly germination purposes of tomatoes, direct sunlight is not necessary. As long as the planter is in a well lit room, soil is warm, and sufficiently moist, the seeds will sprout. However, once they do emerge from the soil, sunlight becomes crucial for strong seedlings.
For someone who has never started their own seeds before, this may seem a little overwhelming, but I assure you it is not that difficult. It is very gratifying growing your own unaltered food, knowing it’s the way it should be! Warning: it is addicting, and tomatoes may just be the start!
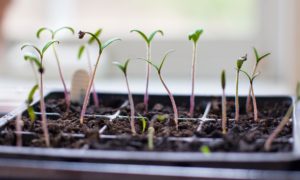
Depending on the type of tomato, and the age of the seeds, you should expect to see seedlings emerge within 7-10 days. Once your seedlings have popped through the soil learn how to take care of them post germination.
I LOVE old fashioned home grown tomatoes ?
Can’t wait to start growing tomatoes! Thanks for the starting tips.