We have since applied the elements of this farrowing house to an improved and expanded farrowing barn! This will allow us to accommodate more sows, and has several significant improvements!
One of the more amazing things about essentially starting a homestead from scratch is you can see the progression as you learn and fine tune. Everything we have built more than one of, you can tell which was first and see the improvements through trial and error. You can see how each stall in our goat mini barn improved as we built them, the quality in our fencing job, and our most recent farrowing house design is no different.
I could delete the original blog post I posted prior to our first farrowing and pretend like I had it right from the beginning. But, that’s not how I roll. I learned how I wanted to change the set up because of failures, things that didn’t work, and things that did. So, if you didn’t read my first building a farrowing house blog post, go back and read it. I am going to make direct comparisons on what worked, what didn’t, and what we changed. So, let’s hop to it!
The Layout
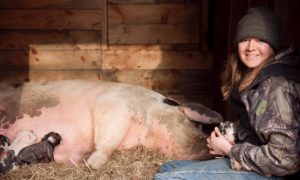
So, if you remember previously we essentially took 1/2 of our chicken coop and built a dividing wall with a door for access. A 6×8 portion was given to Big Marie, and the remaining area was given to the ducks. We thought that this 6×8 section would be plenty big enough for her to be comfortable and raise her babies in. Honestly, it worked pretty well. What we didn’t think or know about until we saw how she was as a mom, was how devoted she is! Feeding her outside was no longer an option, as we struggled to get her to eat the first few days after farrowing much less leave her babies. So, she just didn’t have enough space to comfortably eat, or move around easily when you factored in how much time she was spending in there. It became cramped, and we ran the risk of piglets accidentally getting stepped on no matter how careful she was.
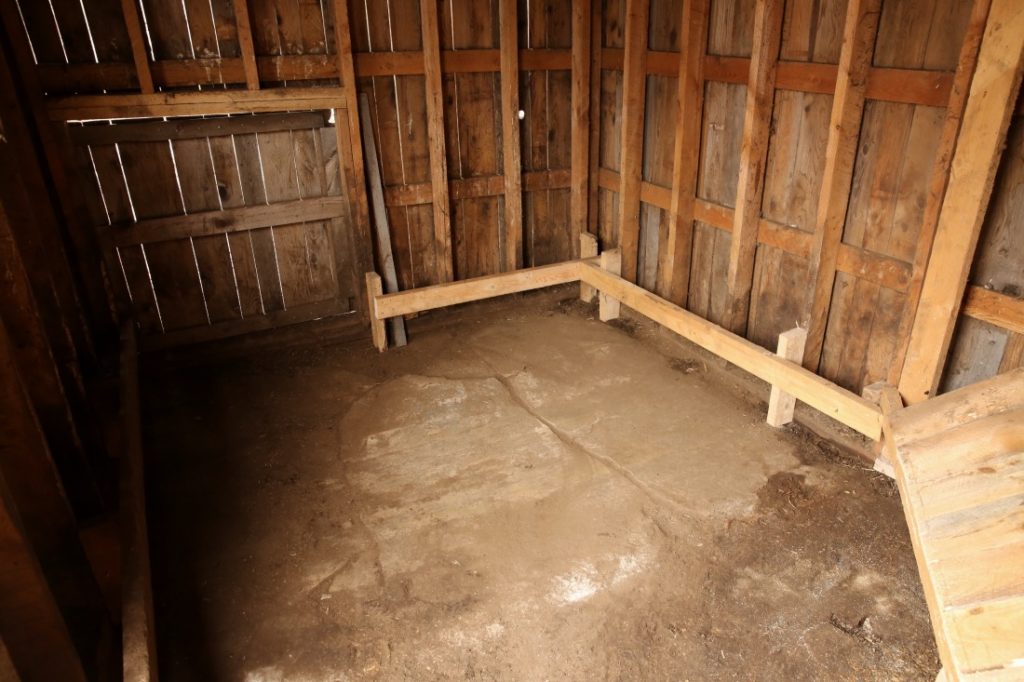
With the new farrowing house design, we busted down that wall and removed the door, and opened up the entire area for her. So now, she has roughly 12×8 feet of space to move around. Because of her size, I feel that this is big enough for her to be comfortable, but small enough to be in that “sweet spot”. No matter where she lays she is close enough for her piglets to find her. Thinking forward, this space is definitely large enough to accommodate two smaller gilts, such as Red Jamie and Claire
One thing we also added was bumpers all the way around. We made them the same height and distance from the wall as before, but they surround all interior walls. Previously we only had one bumper on the wall we constructed to divide off her section. It worked well and served its purpose. But last farrowing, at some point in labor she switched sides and wedged her butt in between two studs on a wall (left above). She had four piglets here, which piled up and got trapped with nowhere to go. They died.
With bumpers around all walls, she can’t wedge her butt in between studs anymore, and is always at minimum 8 inches from the wall. So, the piglets will at least have a fighting chance to not be crammed and be able to find their way to mom.
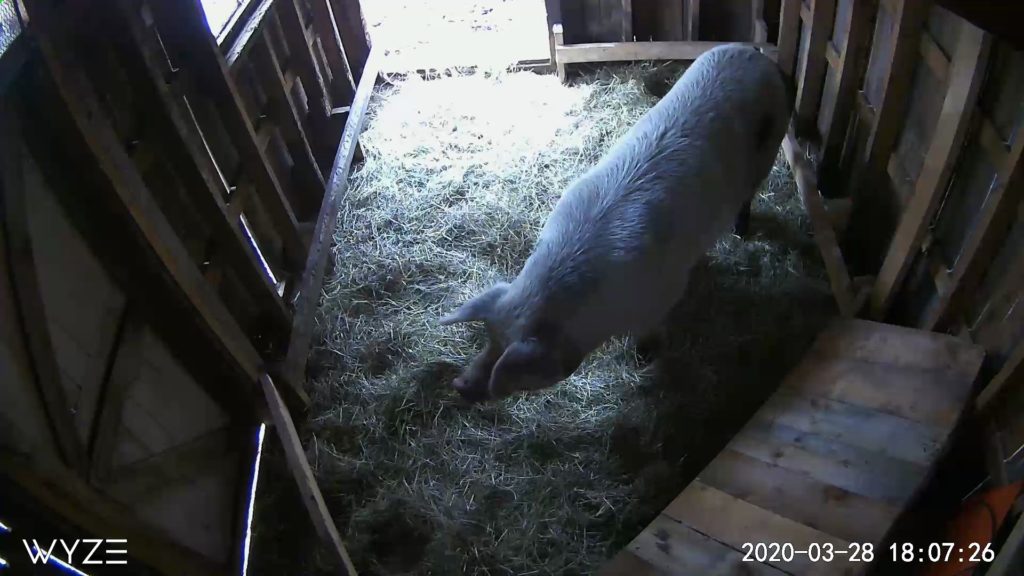
She has the same door configuration that allows her access to the same paddock as before. I will rehang an old rug once she farrows for draft control as we found this made a significant difference in reducing drafts while still allowing her free access to go outside.
Piglet Creep Space
The last thing that we drastically changed was the creep space for the piglets. This is their “safe space” to stay warm away from mama so they don’t accidentally get crushed.
Originally, we tried a dog kennel as mentioned in the previous post. It barely made it out alive through Big Marie’s aggressive nesting, and then only held up for a couple of days after. If it had held up, piglets would have rapidly outgrown it and another space would have had to be created anyway. So, we scratched that idea pretty quickly and had to improvise. We assembled a corner creep area with some boards, but given the total size of the area we didn’t have much room to work with. After a couple of weeks, the piglets quickly outgrew that space as well.
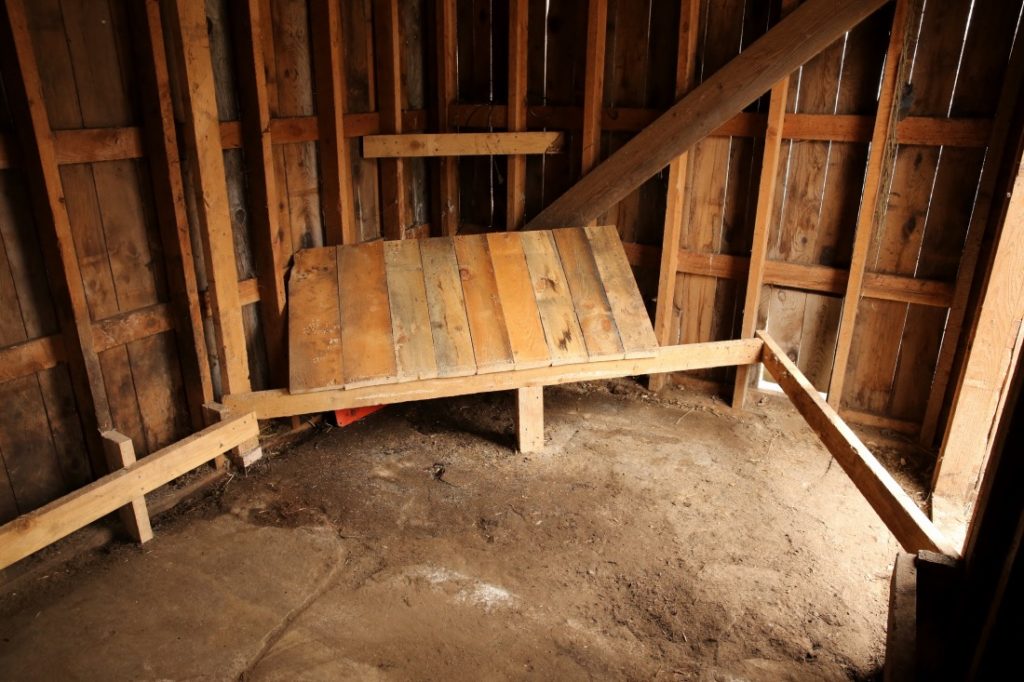
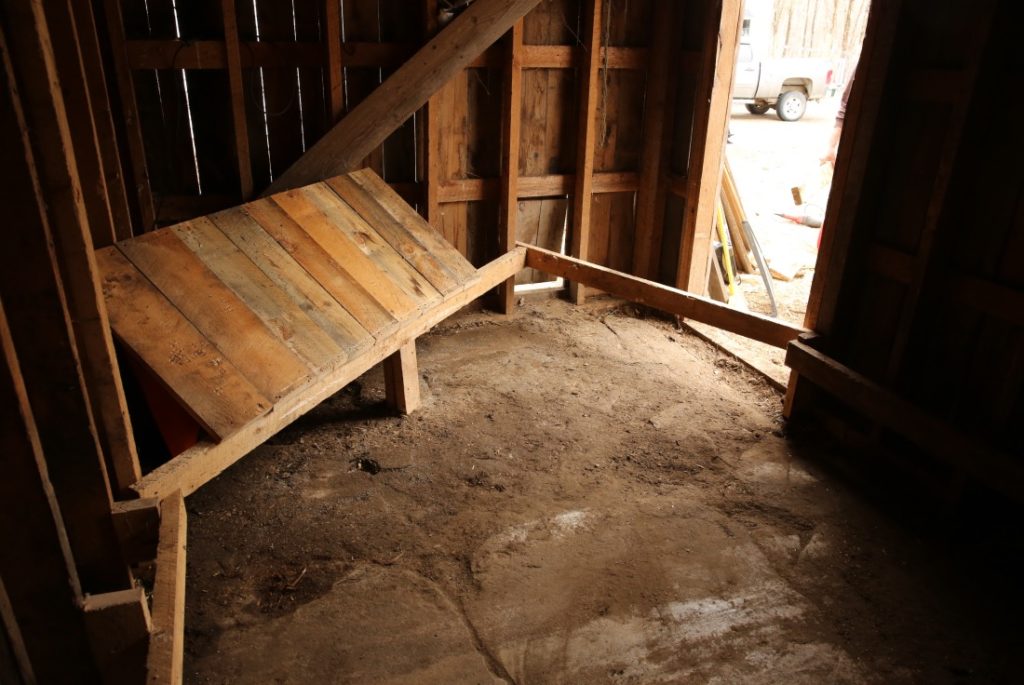
With this farrowing house design, we went all out. Now that we know how much space even a litter of seven piglets can take up once they’ve grown a bit, we over sized it. We took a six foot long corner that was the furthest point away from Big Maries door to reduce drafts. Using wood we took down from the wall, we blocked off the corner to create roughly a 3 x 4 x 6 triangle. After seeing how Big Marie behaves when she is nesting or has piglets, we didn’t want her to be able to see into it if at all possible. So, the boards had to be high enough over her head, and built strong enough should she try and get a snout under it checking on her piglets.
It fits our 24 x 36 stanfield mat with plenty of room to spare and for piglets to grow. Instead of just vertically stacking the boards like I see so many do, we actually had the boards go back towards the wall to create a pitched roof. This will help retain heat and keep it in the creep space, with enough of a gap behind the peak to drop in additional heat lamps.
So, to quickly recap what did we change based on our experience with two farrowings in the original space?
- Doubled the total size of the area from 6 x8 to 12 x8
- Applied our same bumper design to all interior walls
- Scrapped the dog kennel for a creep area, and utilized a corner to create an oversized space with a pitched roof to help retain heat
With the new farrowing house design, we are improving upon our failures from the previous version in an effort to avoid the same issues in previous farrowings. This doesn’t mean that this version is perfect, or we can guarantee that accidents or deaths won’t still happen. But as long as we are providing our sows the housing and tools to set them up for success, then we have done our part.

Pingback: Building a Farrowing House - The Modern Day Settler
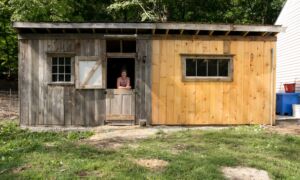
Great article!!! We are researching a farrowing house build for our prospective new gilt. I am thinking of converting a solid built wood shed into a farrowing house.
That would work just fine!
What is the floor made of? is it dirt or cement?
Cement!