One of the biggest and most long term projects we took on when buying this old house was clearing our land. Back in its hay day, our property was beautiful pasture lined with stone walls. Now, it’s thick overgrown woods, and a tangle of small trees and growth are choking out the beautiful and beneficial sugar maples and oaks.
We came into buying this property knowing that we would have several years of long hard work turning these thick woods into pasture space. But, I think we underestimated how truly difficult it would be. It’s not as simple as cutting own trees, and skidding logs. HA! If only…
We have boulders the size of Texas to contend with, meaning the tractor can’t ever just drive from point A to point B as the crow flies. We are constantly driving around these things, stopping to reset the log we are skidding because it got hung up on a rock. Not to mention the enormous amount of junk and glass we have stumbled across. This is a 220 year old farm after all… you get the picture.
Now you may be thinking well can’t you just dig the rocks out? Unless you’re familiar with the New England landscape, you simply cannot fathom what we are dealing with. I know I couldn’t believe it when I saw it. The glaciers came through dropping ledge and boulders like a bad habit, and what you are seeing above ground is only about 10% of its size. Unless you have a large excavator to dig all of them out they won’t budge. And if you did that, there may not be any dirt left there are so big and plentiful. But, you would still have to cut the trees down and moved out of the way to get an excavator in in the first place. Which brings you back to square one.
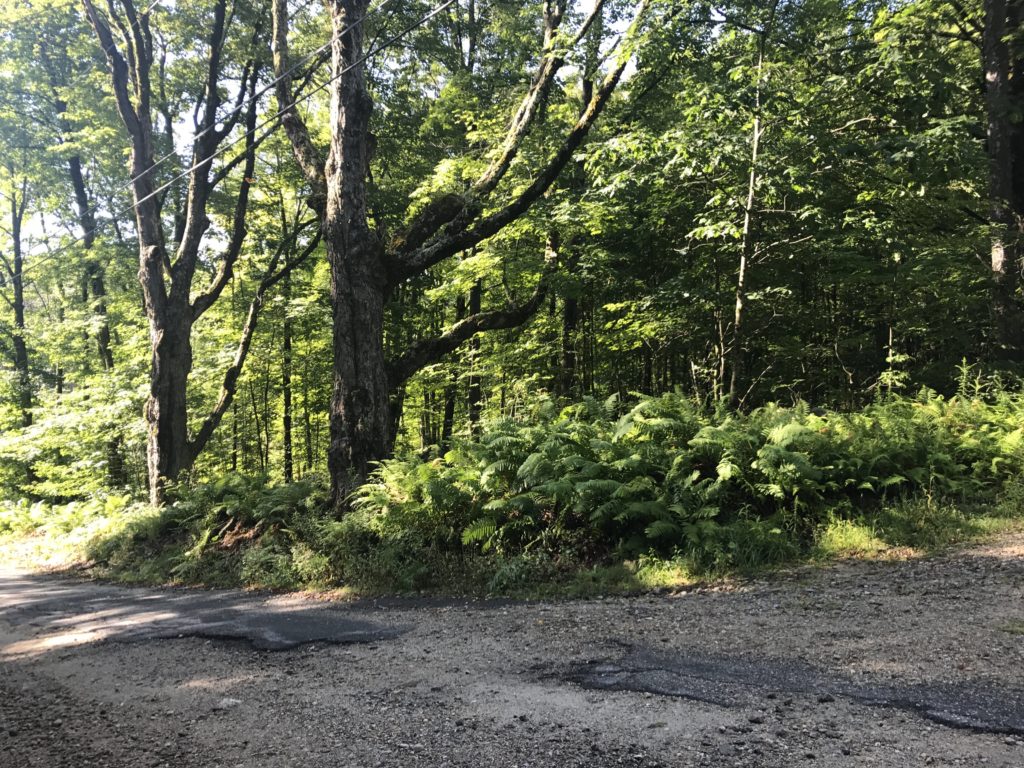
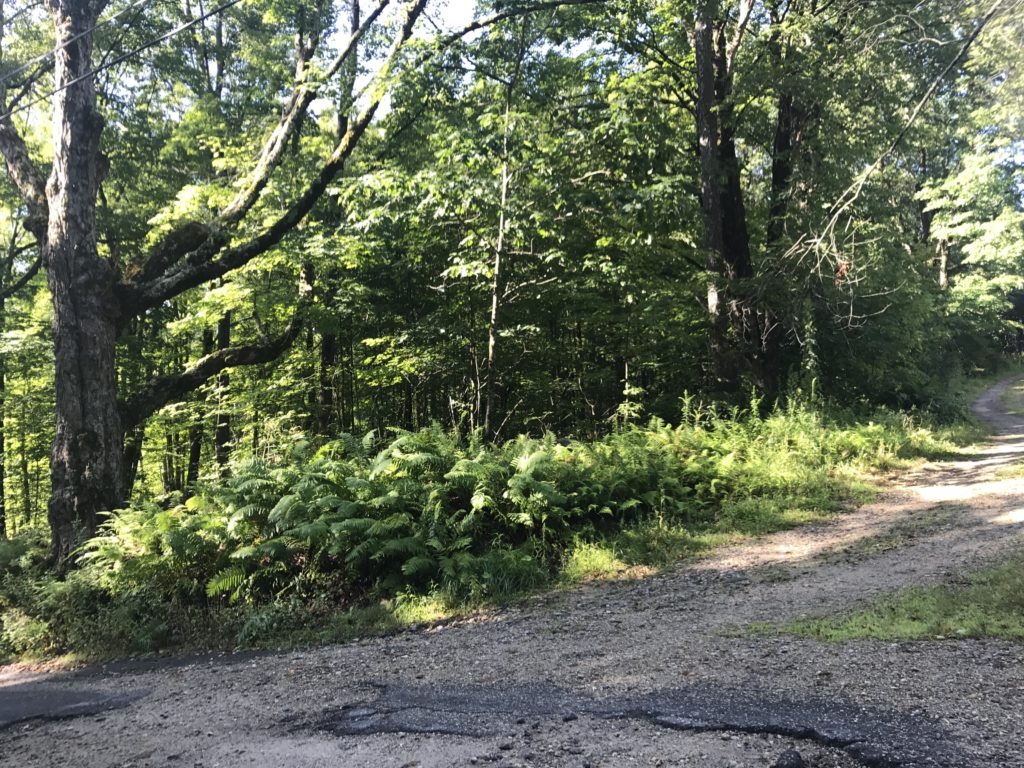
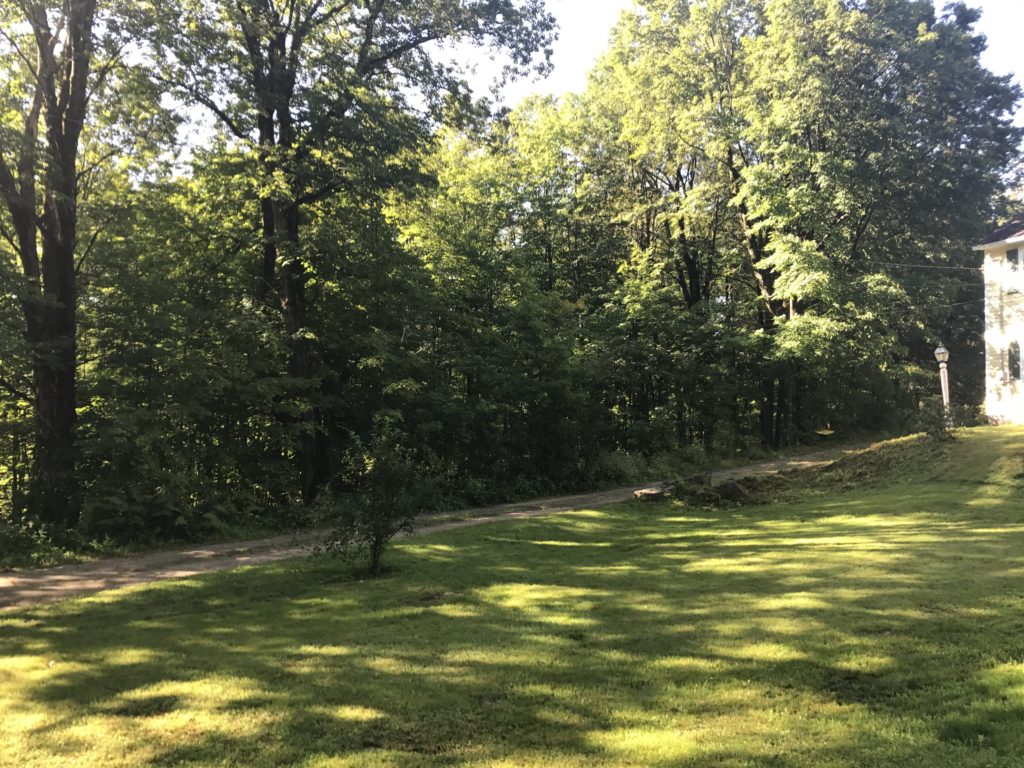
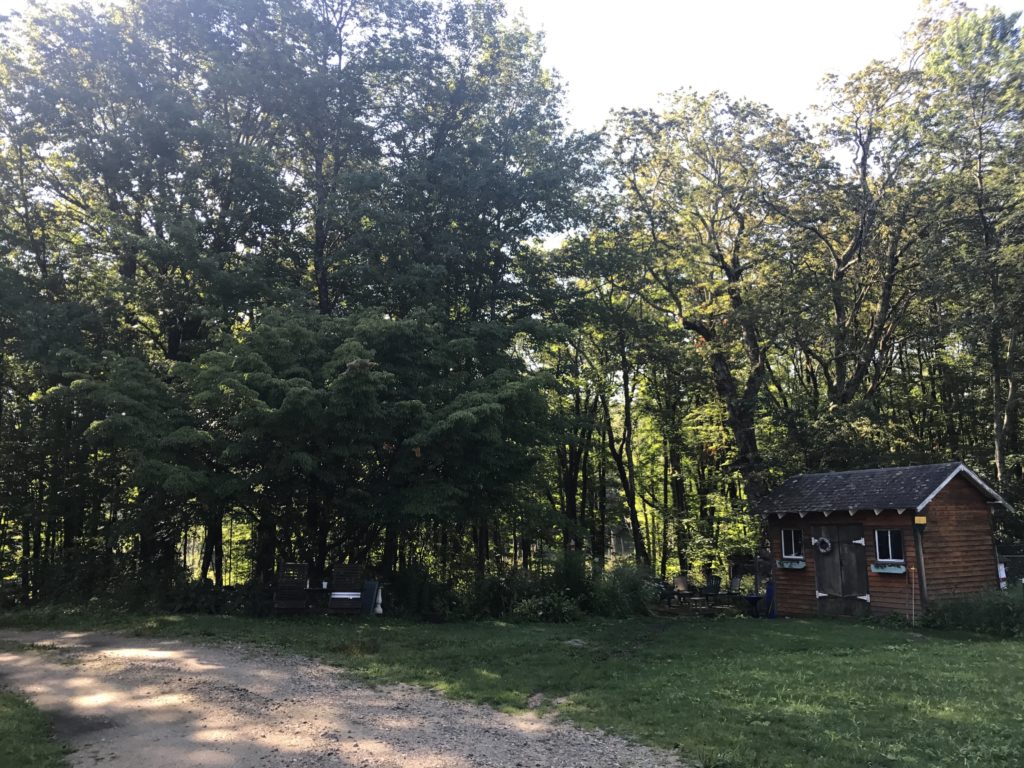
"Before" Photos from the road and along the driveway before we started actively clearing
While we have used our pigs to help clear their silvopasture very successfully, we did not use the pigs to prepare the sheep pasture. This has nothing to do with their efficiency at the job, but the fact that it was on the opposite side of our property that we already had their fencing established. We also knew this ~1.5 acre pasture was going to be a constant construction zone as we wanted to get it done quickly for our katahdin sheep, and we didn’t want to have to worry about moving animals around or fencing getting in the way.
The Clearing Process
The process that we followed was pretty systematic. We would essentially work in sections starting at the natural opening to the pasture from the mini barn and work our way towards the stone wall by the road in swaths.
First, we would cut down saplings and add to a brush pile, then cut down all of the trees we weren’t going to keep in the silvopasture. They would be topped, with the small limbs/branches added to the brush pile to be burned, then the log skidded out and lifted onto our log pile to split for firewood. We would then cut the stumps down as close to the ground as possible so that we could drive over them and push through working our way down the pasture repeating the process.
As far as the stumps go, because this pasture will never be able to be hayed or tilled due to its rocky landscape, for now we are leaving them. We cut them down as low as possible, and over the coming decades they will rot and decompose. It in no way is affecting the animals ability to graze, so it’s one of those things that we decided it wasn’t worth the work and cost to rent a stump grinder. Not to say we won’t do it in the future, but for now we are leaving them!
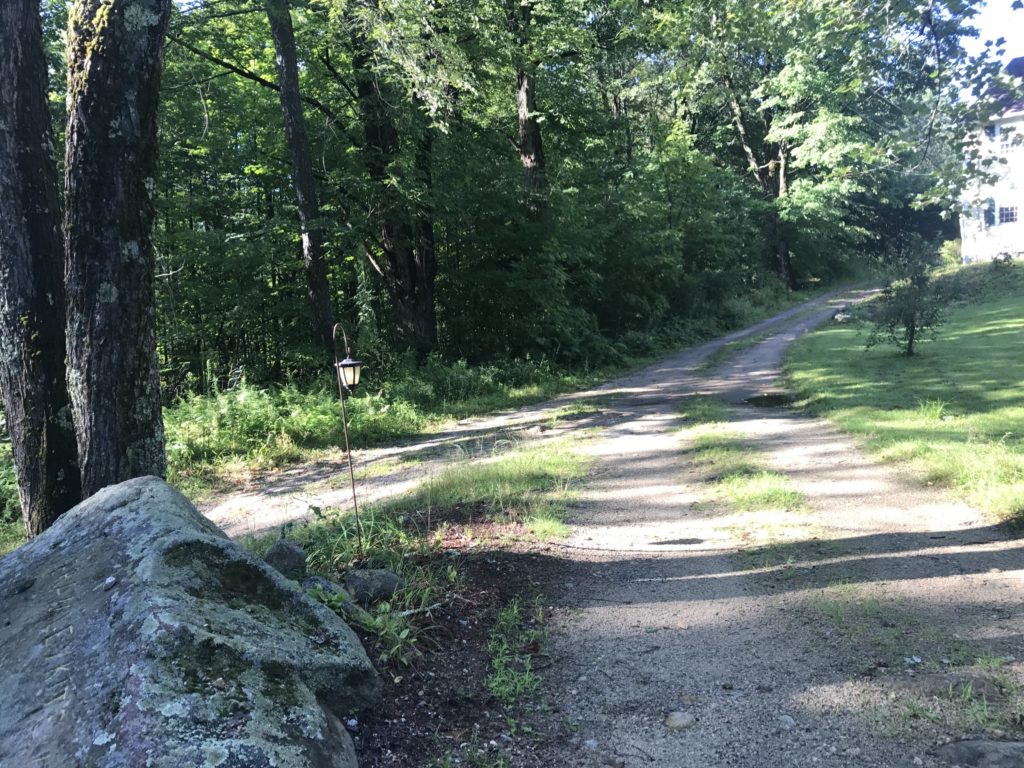
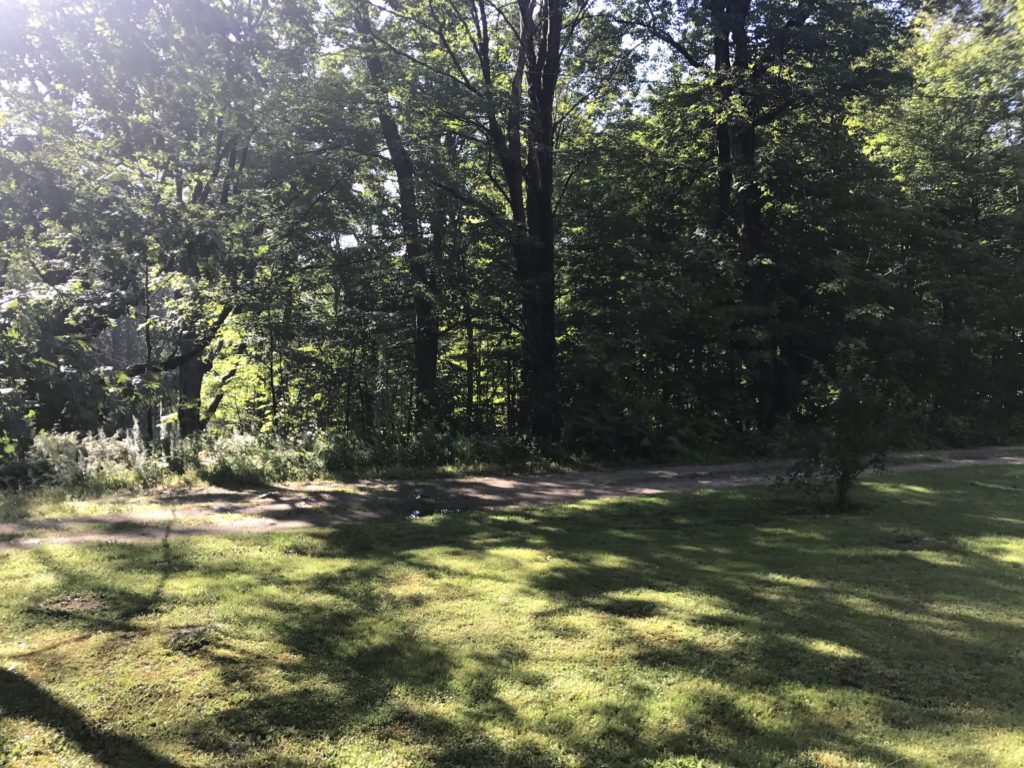
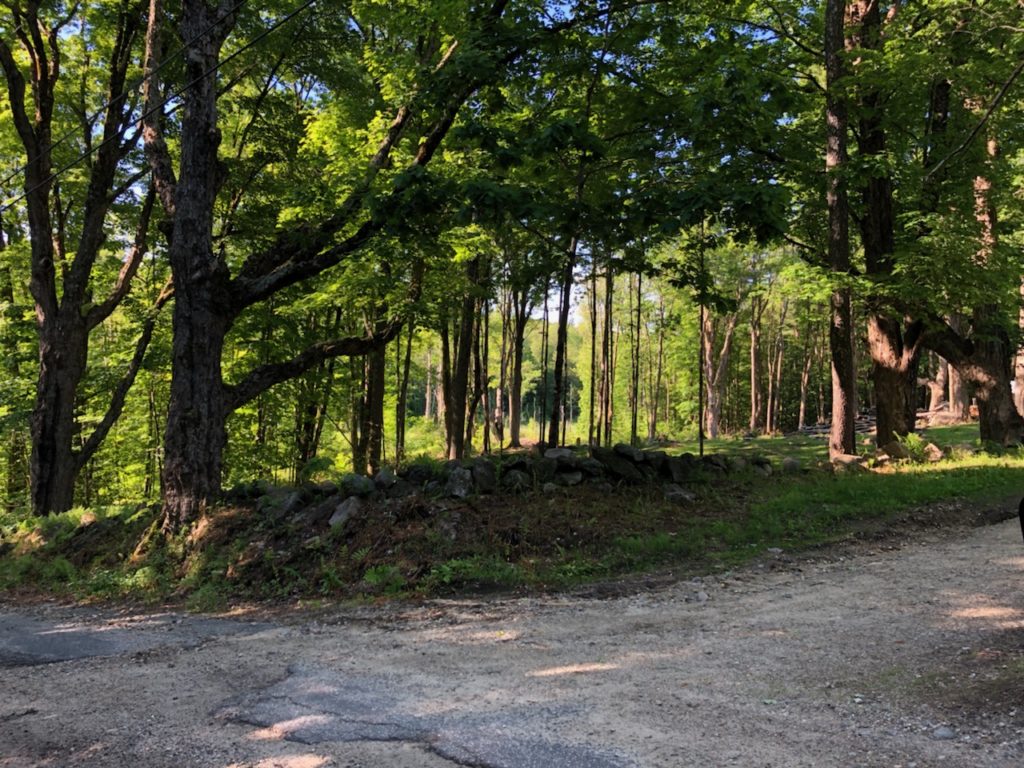
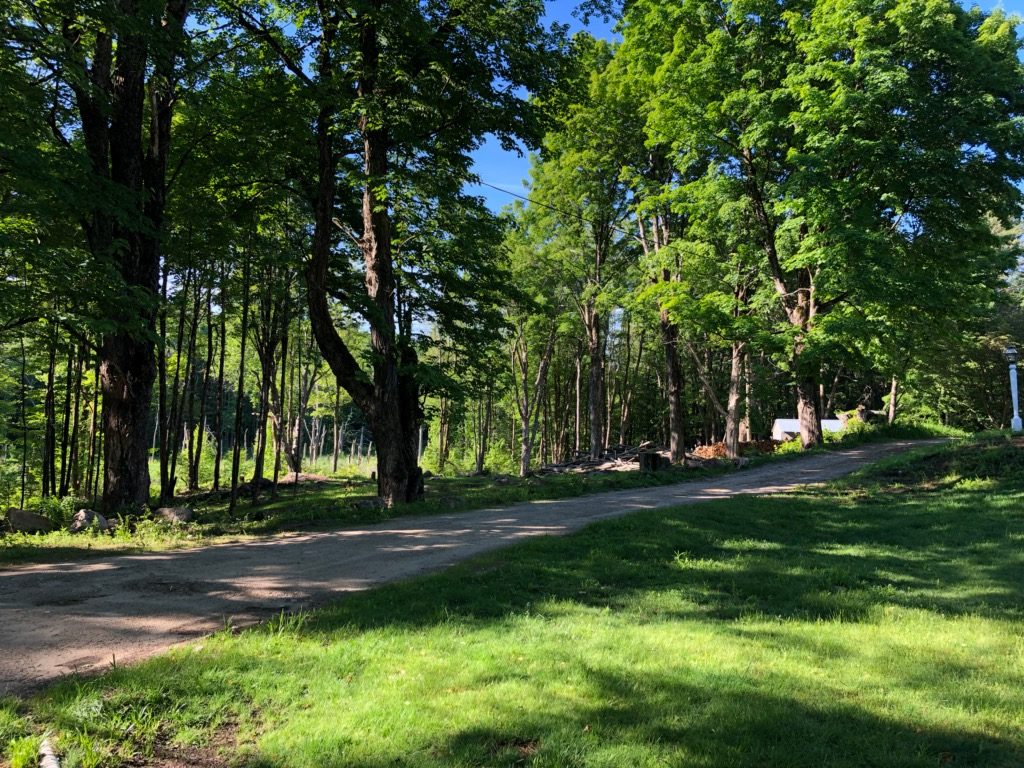
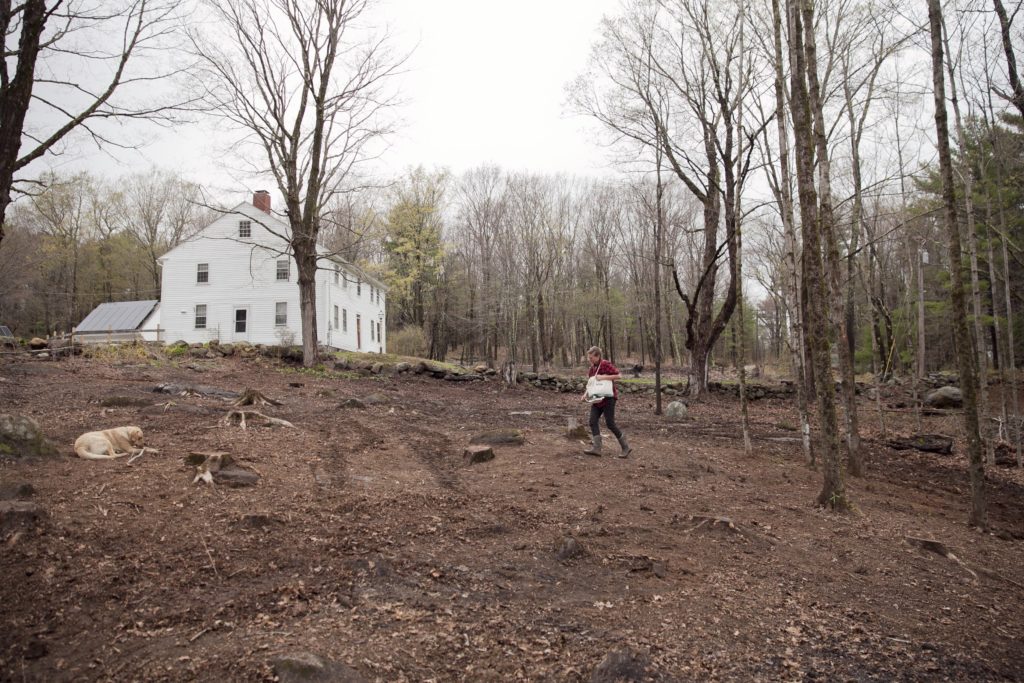
"After" Photos from the road and along the driveway after we cleared 90%. We will have some trees to drop next winter we didn't get to in time.
Prepping Cleared Land for Seeding
So, you have all the trees and saplings cut down that you want removed and the stumps have been cut down as low as possible (or removed)… Now what?
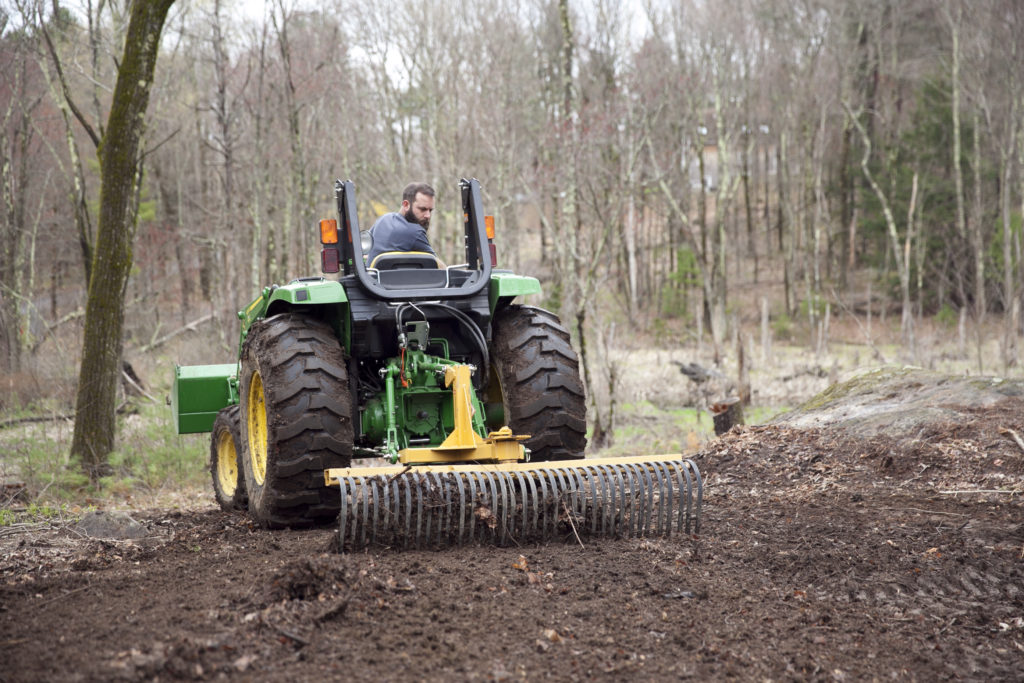
Time to prep that ground to seed! I would love to say it’s as simple at this point as just walking around and throwing down seed. But, alas there are several decades worth of leaf litter, millions of sticks, and of course alllllll the garbage that has been dumped here over the years. This all has to be removed to expose the dirt below to seed. It’s at this point where a landscape rake proves its worth and makes short work of the job.
Connected to our three point hitch, the landscape rake was used to remove everything covering the soil. Nick would drive around dragging the leaf litter, sticks, etc into piles, then scoop it up with the bucket and dump it elsewhere. I worked the ground, following behind him picking up anything that was left behind by the rake, or anything that it exposed when dragging the ground (read whiskey bottles)
Once the entire pasture was raked, it again was used to help grade some low areas where water would pool. Once all of this was done, it was time to seed!
Laying Down your Seed
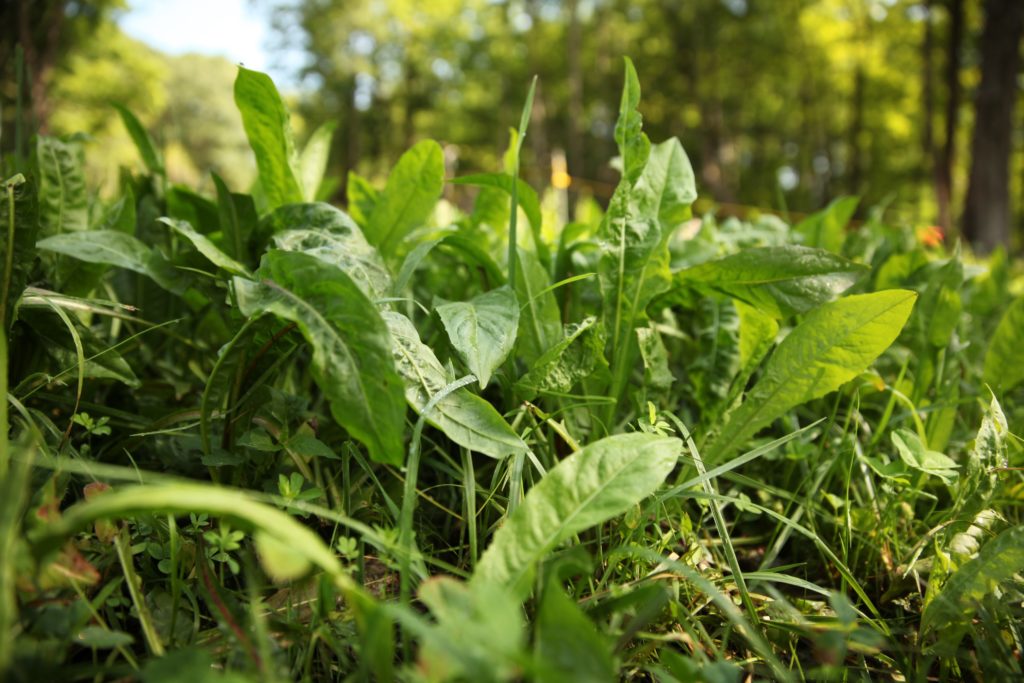
Choosing a quality seed is just as important as prepping the land properly. Yes it’s expensive, and it is a little painful to fork over the money for. BUT, if you prep your land properly and sow your pasture seed at the appropriate time (spring and fall here when its rainy and warm) it is a one time purchase. Cheaping out on the seed will lead to poor germination rates and growth, and then to subsequent plantings, costing more money and frustration. Quality seed will give you the best pasture growth possible, so why not just do it right the first time?
As mentioned above, late spring and fall are prime grass growing conditions here. This is when the soil is warmed up, the temperatures are warm to encourage germination and growth, and its naturally rainy to keep the seed moist. We have no way of watering this pasture (does anyone really?!) so we have to do it at a time when Mother Nature can provide the needed moisture for us. The sheep pasture mix we used from Natures Seed gave the lb/ace for seeding new pasture, so all I had to do was dial that into my hand held seed spreader. From there it was just a matter of walking up and down in rows, trying to make sure I hit everything and didn’t miss any spots.
True to my luck, about a week after seeding we got a very cold spell which certainly delayed germination and growth. But, the temps warmed back up and everything quickly bounced back and began to take off making up for lost time. We also happened to have an extremely rainy spring/early summer, and while everyone was cursing the weather, I was over here doing my happy dance over the wonderful grass growing conditions!

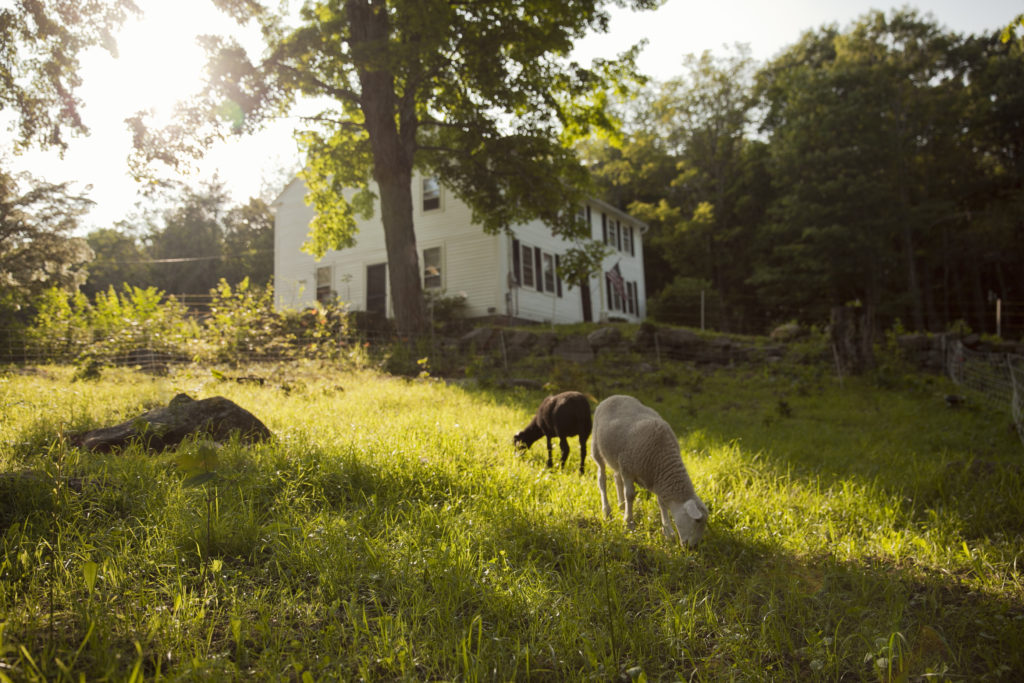
Despite the initial cold spell we had this spring right after seeding I am thrilled with how well our pasture grew. Just a little over two months after seeding the pasture grass was long thick and strong enough to be grazed by our sheep and goats.
While we didn’t get the entire pasture done in time for spring seeding, we got abut 90% of what we planned on accomplishing this year. This winter when the ground is frozen we will drop the remaining trees we didn’t get to, so that next spring we can rake and seed just like we did this year.
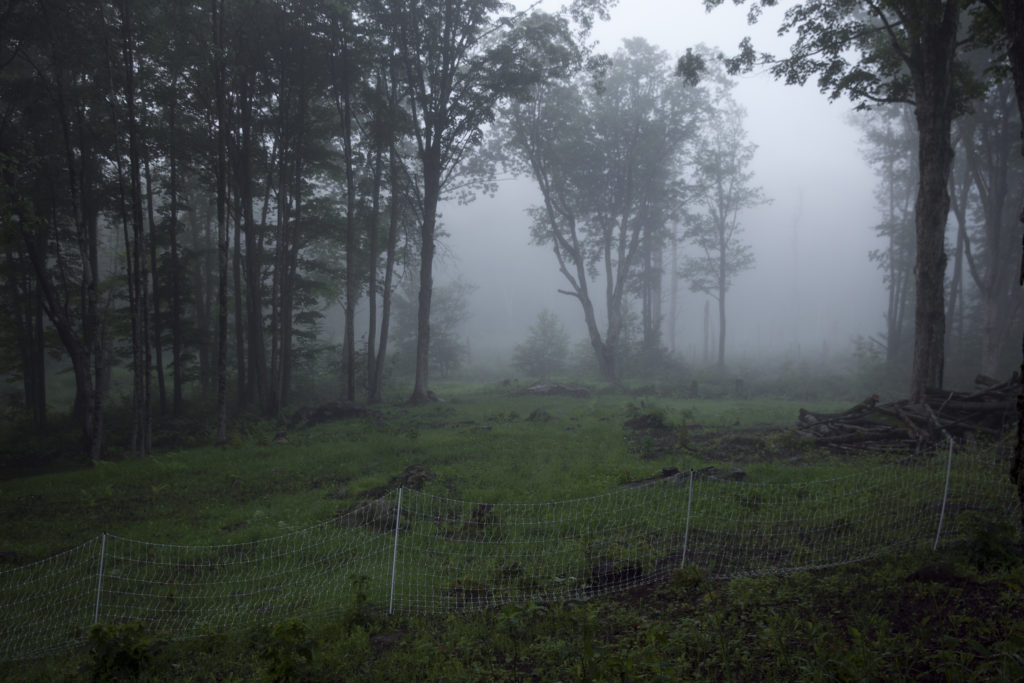
I still catch myself standing in the kitchen or the driveway just staring at our new pasture. Seeing the fog roll in from the wetlands over the gorgeous green healthy pasture is something I have been dreaming about since we bought this place. It almost feels surreal to me that it actually happened, it felt like such a far off in the distant future dream.
Only a year ago it was dense woods and you couldn’t see beyond the wall of trees that came right up to the driveway. It’s hard work, and it’s going to continue to be hard as this is what we have to do with all of our 10.5 acres here. But, we are making huge progress in a short amount of time thanks to our drive and determination to make this place surrounded by lush green pastures once again!
Great post & it looks beautiful. We are in the beginning of the clearing process on six wooded acres. Each and every foot or yard is a victory. Lol Thanks for the knowledge and inspiration.
It certainly is a victory!!! Enjoy the journey!
Pingback: Icelandic Sheep for Sustainable Meat - The Modern Day Settler
We are working on a project just like this, in a very similar landscape. This post is so helpful!
I’m so glad you found it helpful! Best of luck!
Pingback: Looking Back at 2019, & Ahead to 2020 - The Modern Day Settler
Pingback: We Got Katahdin Sheep for the Homestead - The Modern Day Settler