The following post was originally written for the March/April 2019 issue of Grit Magazine.
A potager garden, also known as a “kitchen garden,” is historically a French style of gardening that incorporates herbs, fruits, and vegetables with flowers and ornamentals to create a functional, aesthetically pleasing space. Traditionally, these gardens are located right outside the home and intended to be enjoyed on a daily basis. Walk-throughs allow you to enjoy the garden’s beauty, while also providing quick and easy access to its bounty of food. You can step outside your door and pick fresh vegetables for the evening meal, as well as cut a bouquet of flowers for the table. Because there are no set rules for this type of garden, potagers come in all shapes and sizes, and vary drastically from the freestyle flow of a cottage garden, to the geometric rigidity of a knot garden, and everything in between.
With a growing interest in knowing where our food comes from, the “grow food not lawns” movement is taking hold. Gardeners in urban and country homes alike are choosing gardens over grass. Why waste prime gardening real estate on grass, when you could create an edible landscape? I asked myself just that when I bought my house. Right out my back door was a south-facing lawn, an ideal spot for a garden, yet I was wasting it on grass. I decided it was a misuse of perfect garden space and could better serve as a potager filled with flowers, herbs, and a variety of vegetables to enjoy throughout the growing season.
Starting Your Design
Because there’s no right or wrong way to create a potager garden, this style of gardening is very forgiving for any landscape or budget. Whether the area is flat or hilly, square or irregular, rocky or smooth, the design is adaptable. And if you want to minimize expenses, you can forage what you need to create walkways, bed borders, and other design features.
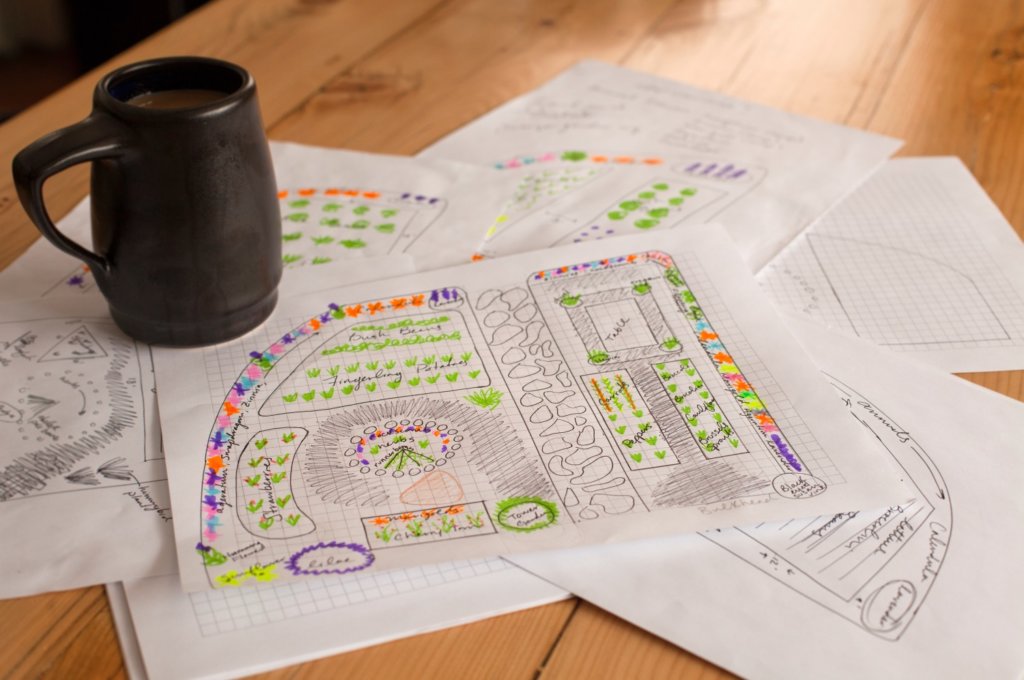
When I decided to make the transition from lawn to garden, the first and most important step was figuring out the overall design. Did I want my potager to be geometric, free-flowing and random, or somewhere in between? What kind of garden beds did I want, and where would I put them? What kind of plants did I want to include, and how would I maximize the garden space?
The design process can feel overwhelming, so the best way to start is by walking through the space and sketching out ideas. While a scale drawing is helpful, you may change your mind after you walk the space and see it physically laid out. Once a rough idea is sketched out, use scrap materials, such as logs, to outline your bed placement, which allows you to easily adjust the design if need be. Your layout will likely change several times before a single plant hits the soil, and it’s important to get a feel for the layout early on. That way, when it comes time to start building and planting, you have it exactly as you want it.
Building Beds
Because potager gardens don’t have set rules, they can encompass various styles of planting within a single garden. Depending on the shape of the area, the landscape, and the amount of available space, you can implement pretty much any gardening style you desire, including raised beds, traditional rows, square-foot gardening, “Back to Eden” gardening, or even containers. Raised and in-ground beds alike can be made into any shape necessary, whether that’s rectangular, circular, L-shaped, or something else entirely.
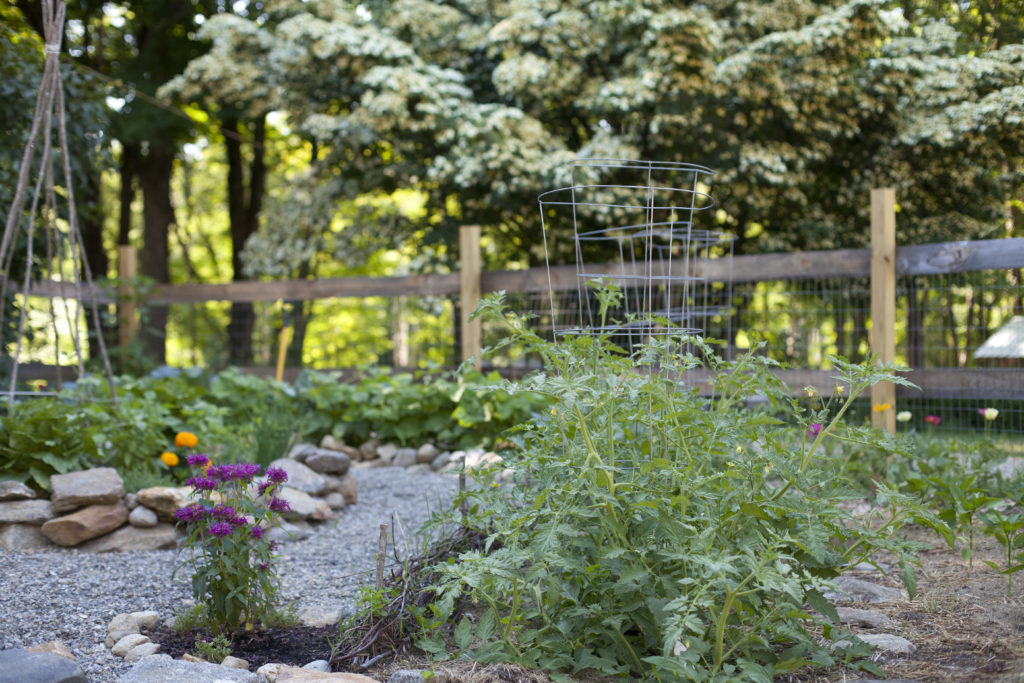
After deciding on a final design and layout, my potager ended up being a combination of one large, in-ground plot and raised beds of varying sizes and shapes. I found that using long-lasting untreated lumber, such as cedar or redwood, to build the raised beds would be too expensive and began looking into alternate materials. Inspired by the stone walls on my New England farm, I realized I had all of the material I could possibly need to build my raised beds, I just had to collect it. I utilized flat rocks to create mini stone walls for the deeper beds, and mounded smaller, round rocks haphazardly to create a border around the shallower beds. Not only do these beds serve their purpose, but they’ll last forever, and they add beautiful textures and colors to my garden. Rocks are a natural resource for me, but raised beds and bed borders can be made out of many other types of free or cheap materials, depending on what’s readily available to you. Some other options include slab wood, logs, bricks, masonry stone, galvanized metal, and wattle fence.

Creating Walkways
Setting up paths and walkways is one of the key parts of designing a potager garden, as the space is intended to be walked through. The most important thing to consider is that the flow and direction of the pathways should feel natural. Like potager garden shapes, there are endless possibilities as to how paths can be laid out. With a central walkway already in place leading out my back door, I had a focal point to work away from, and that helped guide me. When I laid out my beds and planting areas with logs to help determine their size, I was able to see how easily I could move around and visualize my path through the garden. If something felt unnatural, I adjusted the walking paths to make them wider or narrower, or changed directions altogether. When designing your pathways, remember to consider the size of your gardening equipment, such as wheelbarrows or carts. There are endless materials you can use to create walkways, each bringing different colors and textures to the space. Pea gravel, wood chips, brick, fieldstone, and pavers all make good walkway material.

Strategic Planting
Once you’ve settled on a garden design, it’s time to make a strategy for planting. In addition to vegetables, I knew that I wanted to incorporate some low-maintenance, pollinator-friendly perennials that would fill out over the years and give early spring blooms. I also wanted to include a wide variety of annuals to give a pop of color all summer long. By utilizing “layering” and planting shorter plants in the front of the beds and progressively taller plants in the back, the beds are full of color, texture, and artistic appeal.
Incorporating vertical accents is another way to create depth and interest, and vining plants climbing a trellis, fence line, or pergola can take advantage of vertical growing space. They can also be used as a natural barrier to purposely block something unsightly, such as a bulkhead, propane tank, or electric meter. The same concept can be applied with taller bushes or dwarf trees to create a natural softscape fence line for more privacy in the garden.
When it came to planting vegetables, my main goal was to make the potager as productive as possible, utilizing the space efficiently to maximize yield. To do this, I couldn’t leave any space barren at any point in the growing season. By implementing two main planting methods, I was able to make the most of my space.
■ Succession planting: Succession planting is the rotation of crops and recycling of space to increase crop production throughout the growing season. Essentially, this planting method allows you to grow as much as possible in a given space by making efficient use of the timing. While it may take some forethought and planning, it’s one way to maximize your garden space and produce as much as possible. Cole crops, such as broccoli and cauliflower, can be planted early in the season and will produce shortly after the last frost date, allowing them to quickly be replaced by short-season vegetables, such as bush beans and slow-bolting lettuce, to produce a mid- to late-summer harvest. Vegetables with a longer growing season, such as tomatoes and peppers, produce at the end of summer and are ready for harvest just in time to be pulled out and replaced with a second planting of fall cole crop seedlings. By utilizing succession planting, you can maximize your yield by ensuring that valuable garden space doesn’t lie barren.
■ Companion planting: Companion planting is the close pairing of different plants that enhance each other’s growth, or protect each other from pests. The benefits of companion planting include shade regulation, natural supports, improved plant health, weed suppression, and increased soil health. Another benefit of companion planting is that it allows you to plant closer together, maximizing your space. Vegetables that take longer to mature, such as Brussels sprouts, require a considerable amount of space between plants to grow properly. Bush beans, however, make a wonderful companion for them and can be planted in rows on either side of the Brussels sprouts. Not only do the plants benefit from being planted next to each other, but the quick-growing bush beans will utilize the otherwise wasted space and be ready for harvest before the Brussels sprouts plants get too large and shade them. Some other ways to utilize companion planting to increase yield and maximize space are by planting garlic in the fall among strawberry plants; radishes between rows of carrots; onions between rows of peppers; lettuce between rows of broccoli and cauliflower; basil between rows of tomatoes; and calendula among herbs.
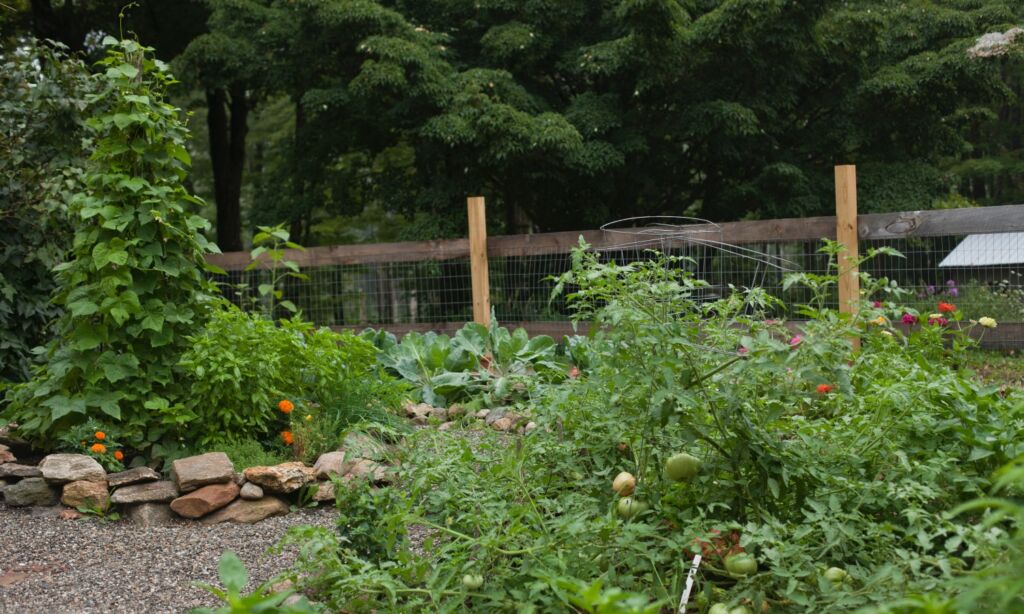
After I converted the lawn outside my kitchen to a potager garden, it quickly became one of my favorite places to be. In addition to providing me with fresh produce all summer long, it also became a pollinator haven. Endless meals were enjoyed in the small dining area while hummingbirds, butterflies, and honeybees buzzed around in the habitat I had created.
Regardless of the shape, size, or location, the beauty of a potager garden is in how adaptable it is. Whether the space gets full sun, part sun, or full shade, there are plants available that will thrive. No matter your taste, style, or budget, with the right design and some imagination, you can create a garden oasis of your own to be enjoyed year after year.
Happy Gardening,


Nice presentation, I also have such a terrace garden to meet my veg needs.
Very nice!